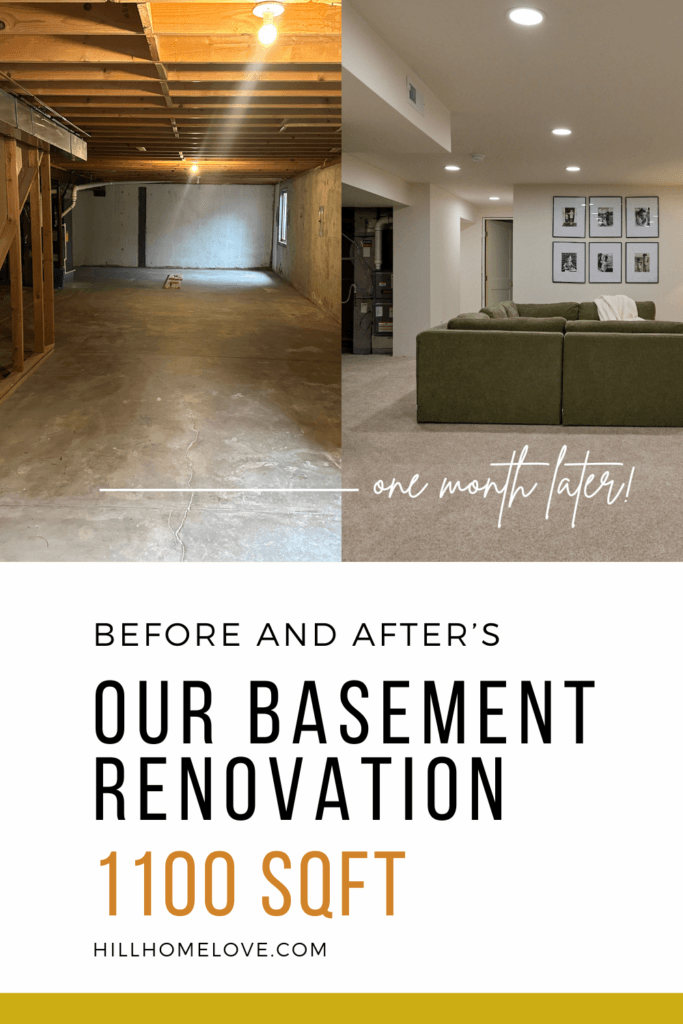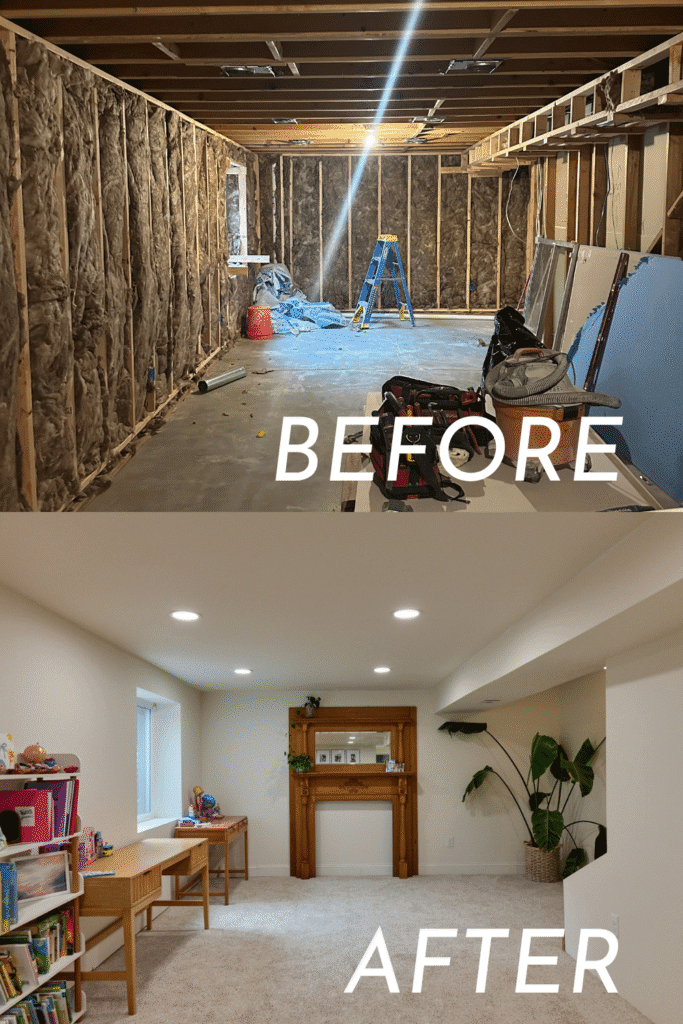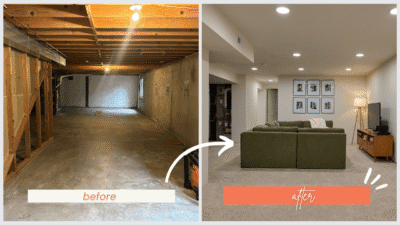
This Spring we took on our biggest project to date: our basement renovation! We hired an amazing crew to help us make it a livable, comfortable space, and it’s completely transformed our home (cue the happy tears). It’s been quite the exciting project, and today I’m sharing all the details from renovation snags, unplanned extra expenses, last-minute design changes, cost and financing, what we love, and more.
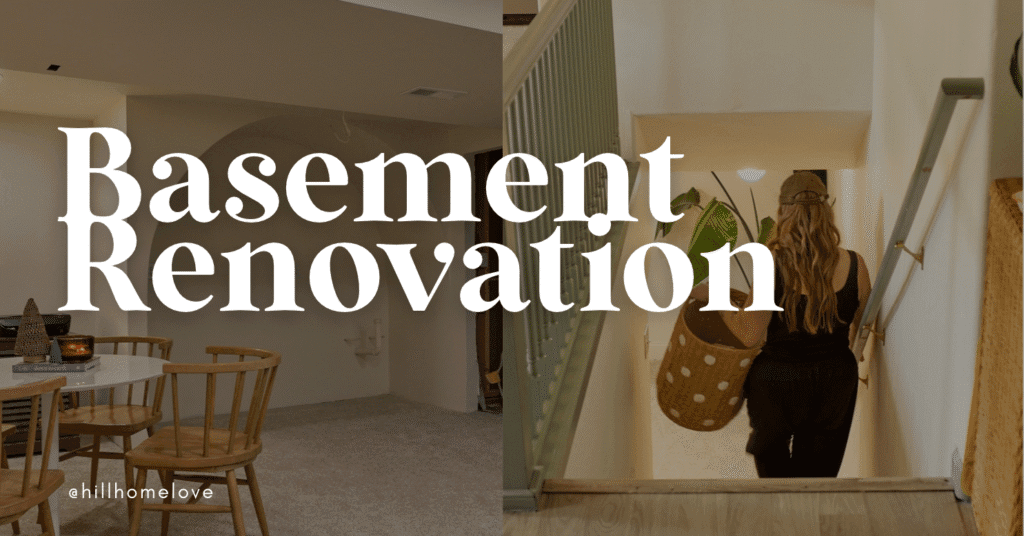
If you’ve been following our story, you know nothing about our home has been easy. We bought this home with a vision and dream for our family. Slowly, it’s coming to life. After lots of emergency repairs and years of tossing our budget at necessary but not exactly exciting updates, now we’re finally turning a corner into more visually impactful projects.
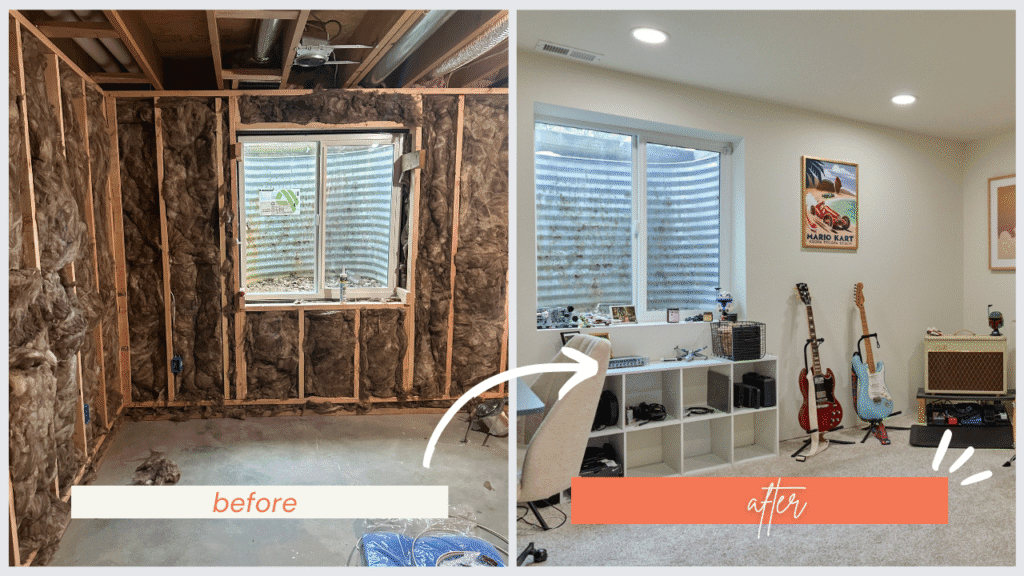
After doing lots of research and financial planning, Nathan convinced me to pull the trigger on our basement renovation now instead of waiting a few years like I planned. With both of us working full time, the idea of spending every evening and weekend DIY’ing our basement finish was out of the question for me. Yes, it would save us money, but it would take over our lives for a solid year.
We reached out to a friend who does home remodels for a living, and he gave us a quote that matched our budget perfectly, so we decided to hire them to do this project for us. I’m SO glad we did!
They got the project done in a matter of weeks, knew exactly what was needed to pass inspection, and were so helpful throughout the process as we hit different snags or needed to make design tweaks.
For the sake of our budget, we asked them to get us through the rough-in stage, and then we’d take it from there.
This means they did all the basement wall framing, rough plumbing, rough electrical, hvac ductwork, and anything else to pass the first round of inspections.
In other words, they did everything under the floors and behind the walls.
There’s lots more to do, but we’re so happy with how it’s turned out so far!
Basement Renovation Design & Layout
Having a ready-to-go layout made this project so much easier. We took our finalized basement layout and simply handed it off to our crew to implement.
Design Priorities and Goals
As a reminder, our home is a one story ranch. Our basement extends the full width of our upstairs, so it DOUBLES our livable space.
The primary design goal for our basement renovation is to have room to host people.
For us, that means adding an additional bedroom for guests, an additional bathroom, and creating a second living space with a bar, table, and comfy seating for watching movies.
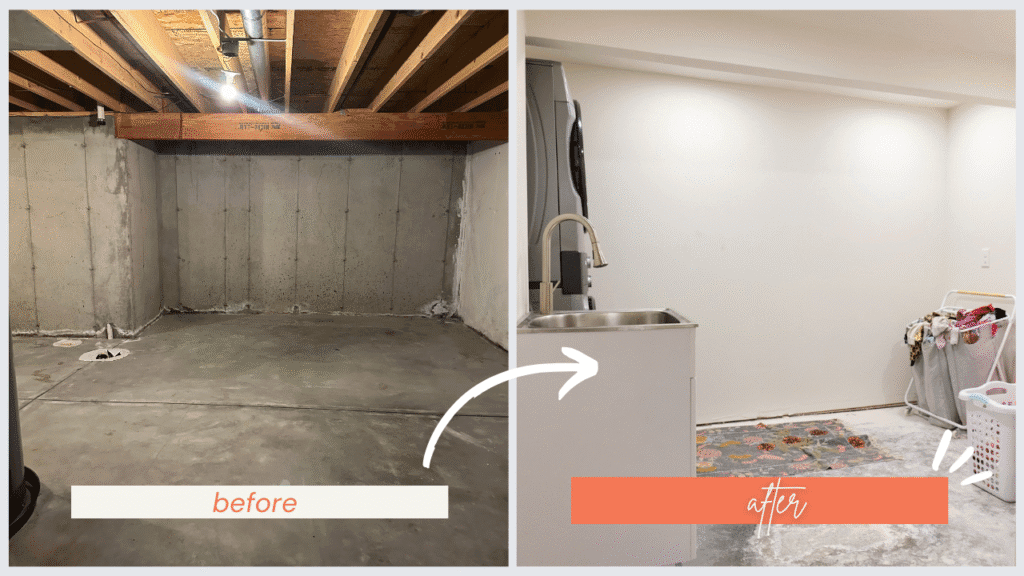
After workshopping with layout designer, we were also able to incorporate a new laundry room and extra storage.
You can see our full layout plan here.
We knew this renovation would be life changing for our family, giving us space to retreat and allowing us to invite more people into our home.
As our kids get older, we hope this makes our home more welcoming for their friends too.
Side note: I highly recommend doing the prep of planning your basement layout BEFORE you start on any building work. It definitely saved us time and made communication easier. If you plan to DIY your basement renovation, having a locked-in layout will be essential to follow to make sure everything ends up exactly where it’s supposed to as you progress through each building phase.
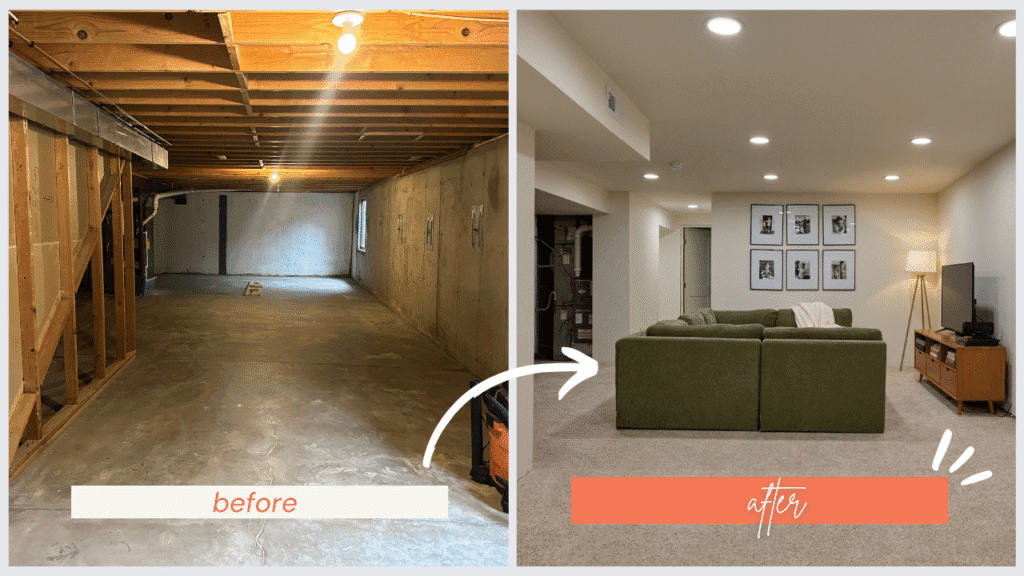
LINK: BELLA MIA PIT COUCH
Basement Renovation Layout Troubleshooting
The location of our stairs and the utility closet limited our options for how to fit everything we wanted into our layout. To keep the bathroom private, I didn’t want the door to be immediately off the living room area.
Our layout designer came up with a creative workaround by adding a hallway behind the utility closet, giving a more private entrance to the bedroom, bathroom, and laundry room.
Some designers consider hallways a waste of space, but it definitely created the best flow for us!
Last Minute Design Changes
When we gave our contractor the green light to start building, I initially panicked that maybe we’d missed something important in our design. At the final hour, I redesigned our bar area into an smaller arched bar with a built-in table in the corner.
Arched Bar & Built-In Table
This will give us more room in the living area and a better flow to the hallway. We don’t need a big kitchenette in our basement. Just a little space to make drinks and put snacks.
The arched bar will include a drink fridge, mini sink, and 1-2 shelves to hold glassware and liquor (our fav summer drink on rotation right now).
The built-in corner bench will give us space to each dinner, play games, craft, and do puzzles.
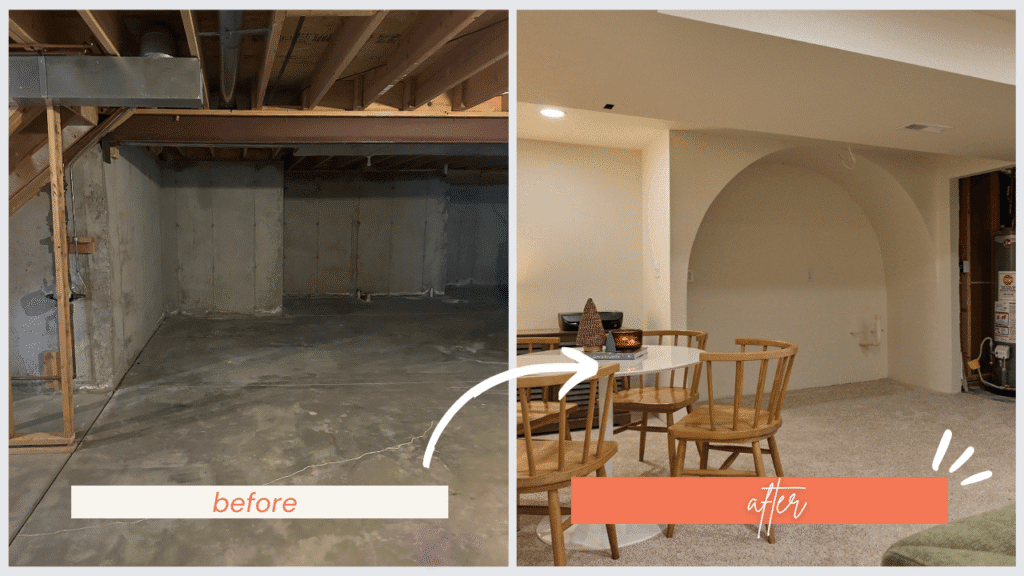
LINKS: TULIP TABLE (SIMILAR), WOODEN SHAKER CHAIRS
Tweaks For Future Planning
Sump pump:
While we haven’t had any more flooding in our home, we discussed with our contractor where we could install a sump pump in the future if needed. Most likely, we’d put it in the bedroom closet or laundry room so it can easily connect to existing plumbing.
(In case you didn’t know, we discovered our basement was full of water the day we moved in. So fun.)
Extended Gas Line:
A kitchen remodel is on the horizon in the next 5-10 years of our home. Before they closed everything up with drywall, we had a gas line extended to our kitchen so we can install a gas cooking stove someday. This cost about $700 to do.
Sound-Proofing The Office/Guest Room:
Nathan is a musician, and with the guest room/office directly below the primary bedroom, we added extra insulation in the ceiling and walls of this room to help dampen the noise.
The Basement Renovation Process
Layout locked in, we submitted our plans to the city and applied for a building permit. This process took a few days to complete (and was surprisingly expensive…). Meanwhile, our crew got to work with demo and framing.
Framing Basement Walls
Northern Colorado soil is known for being shifty. To allow for movement, you hang the basement walls off the ceiling, and allow for movement along the bottom framing plate.
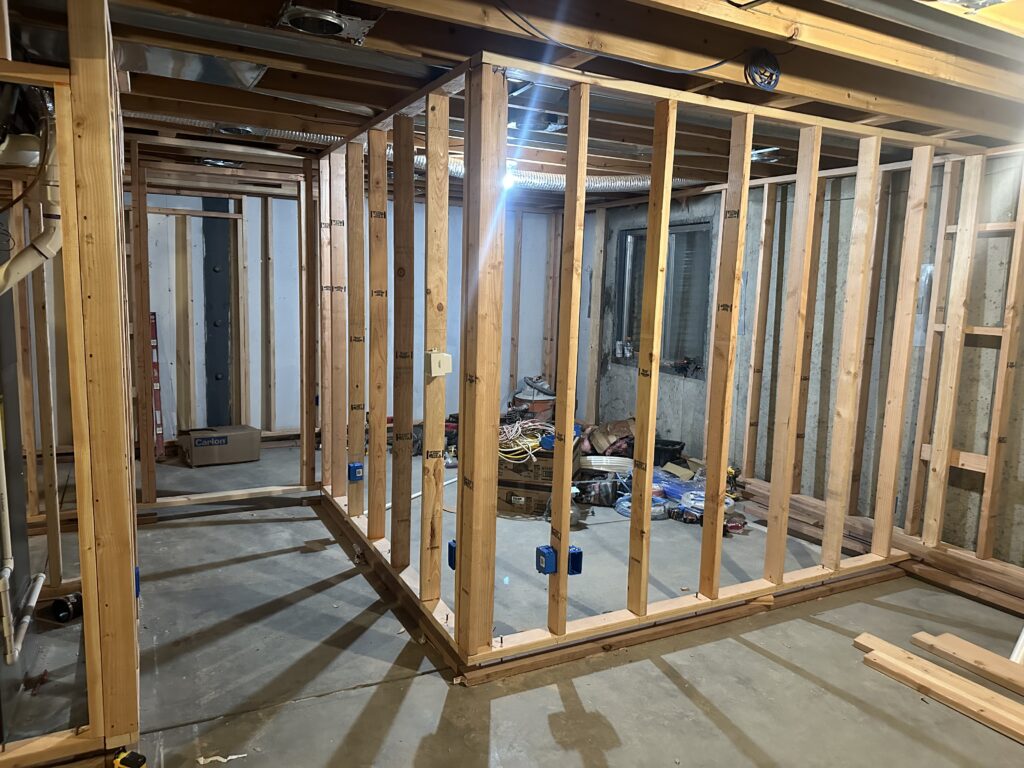
This way, if your basement floor drops or raises, it won’t compromise the structure.
Adding fire blocking along the top of the wall framing can help slow down the spread of fire and smoke.
Framing A Basement With Foundation Issues
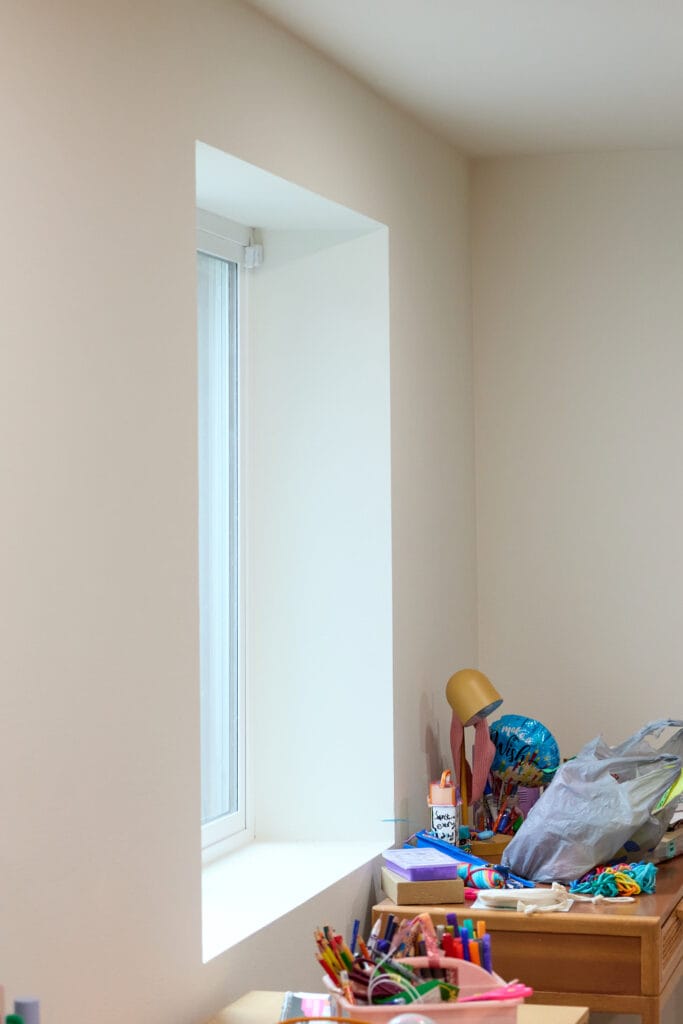
I was worried how much space we’d lose because of the significant lean from our foundation issue. But all it did was make the window sills extra deep, which we love! It gives us room to add a few decorations and plants, and it helps to hide the angle slant of the windows along the very exterior wall.
Plumbing Problems
Once the walls were framed, they started on the plumbing.
Our designer expertly planned for all our plumbing to stay in the same small area, so we didn’t have to dig up too much concrete to set the new plumbing.
They connected new water lines for the bathroom, bar, and laundry room, and added drains.
But the inspector requested changes after our initial inspection, including an additional drain connection and a pressure test for our new plumbing.
It took a lot of reworking for our crew to do, and during this time they discovered some issues with our existing plumbing.
Unfortunately, waste water was flowing into the back flow drain and wasn’t moving away from the house like it should. After scoping the drain, they uncovered some low spots in the main pipe and and not enough slope.
Thankfully it wasn’t anything more than that! It could have been much worse, and much more expensive. Still, this snag added an extra few thousand dollars in total.
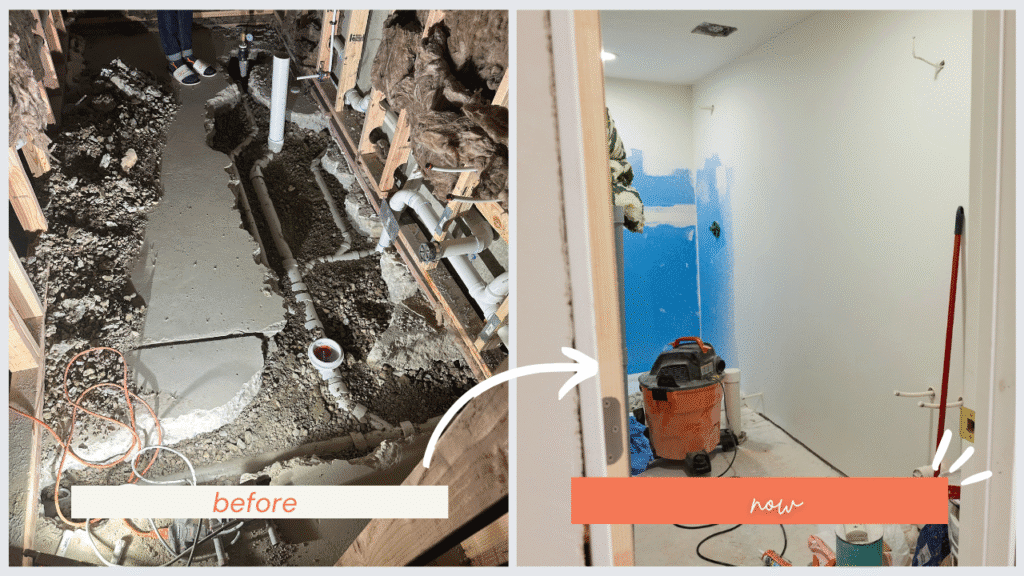
A plumber along with our crew jacked up more concrete and replaced the pipe, while our crew continued to rework the bathroom plumbing to find a small leak and pass a pressure test.
Eventually, we passed our plumbing rough-inspection and could move on!
HVAC & Electrical
Next, they ran new ductwork for each space and added a new dryer vent. Thankfully they were able to run this new dryer vent to the back of the house and didn’t have to punch through the front exterior. Due to foundation issues, they weren’t able to go up through the side of the house.
Then came electrical. They added all the outlets and light junction boxes. Our crew thoughtfully helped us plan 3-way switches for our living room to make life easier. After a few changes, they ran all the wires and then added additional breakers, including one for our new washer/dryer.
Rough-In Inspection: Passed!
With framing, plumbing, gas, electrical, and HVAC done, we passed our inspection! This meant our crew was done and could head off to their next project.
Meanwhile, our contractor coordinated drywall and we started sourcing carpet.
Installing Drywall & Carpet, and everything else
I learned that drywall is installed in two phases. First, a crew came to hang all the drywall. This was the most satisfying part of the whole project so far!! We could finally see our space come to life.
Once it was hung, a different person came to do the drywall texturing. He spent 3-4 days taping joints and layering drywall compound to get our walls nice and smooth. Our upstairs has rounded corner bead, but we choose straight corners for a more modern look downstairs. Next, he added wall texture to match our upstairs.
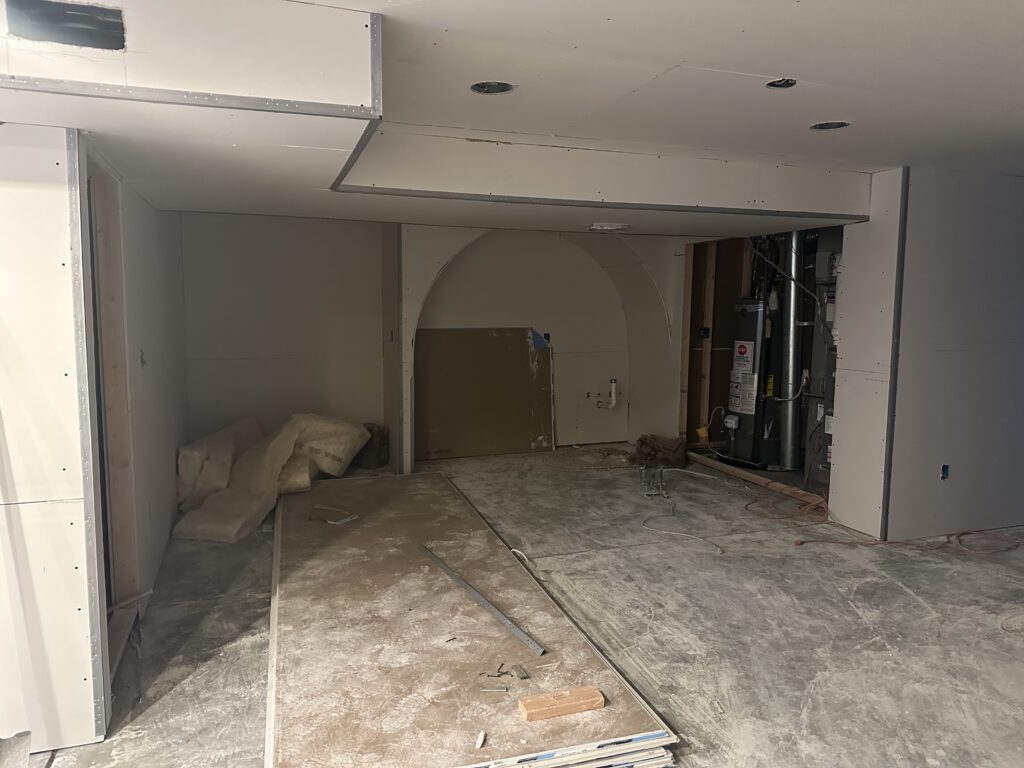
Once it was dry, we primed the walls and then painted. A handful of gracious friends helped us through this phase – it really was so much to paint!
Choosing The Right Carpet Color
I can honestly say choosing carpet was one of the most stressful part of this whole project, ha. There’s too many options! It’s overwhelming.
We knew we wanted something soft and thick enough that it would be comfortable to rest on (yes, we were thinking about all those sleepovers from our own childhoods).
It couldn’t be too dark in color, but not bright and definitely not shiny.
Color flecks would help hide stains or dirt.
Nathan’s not into patterned or textured carpet, which helped narrow it down.
I didn’t want anything crazy expensive, but it needed to be durable against our kids and last as long as possible.
After visiting a few local carpet stores with no luck, I went home and plotted how to go about this big decision.
I filled a tote bag with cabinet hardware we might use downstairs, paint samples for trim and walls, upstairs flooring samples we might use one day, couch fabric samples, and a few tiles we planned to use.
We went back to the store and took over one of their large planning tables. I set out all my samples, then started pulling carpet samples. One by one, Nathan and I narrowed it down the options based on color, texture, thickness, and price.
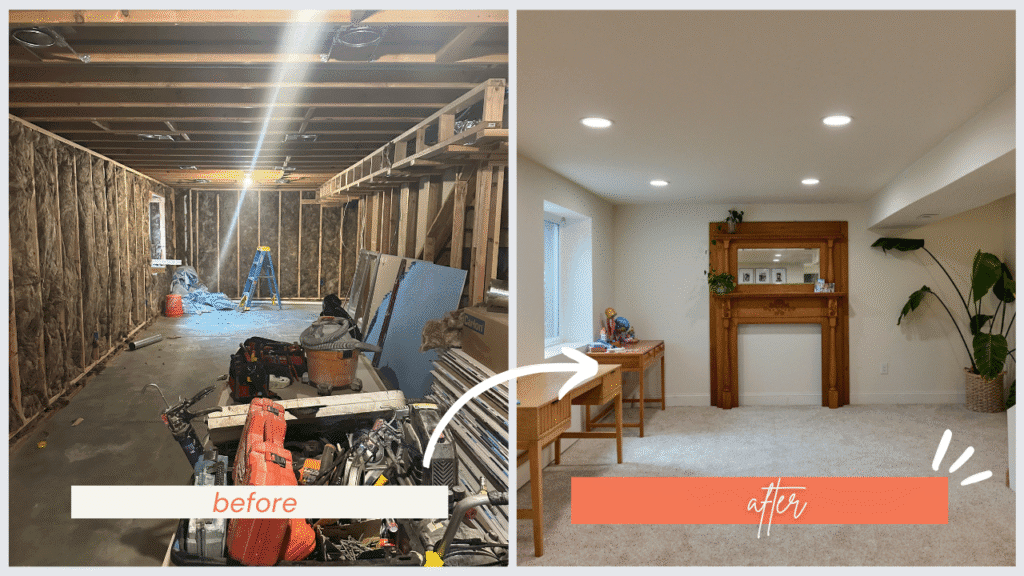
Through this process, we found the perfect carpet. It has a mid/light tone and is creamy in color, but not yellow or too white or gray. It’s super soft but still a durable material and isn’t shiny or bright. It has flecks of tan and gray to hide dirt/stains, and it also happens to be a pet carpet, so it’s highly stain resistance. Perfect for kids, ha. Sold!
Our contractor recommended a team to install the carpet for us, and then it was handed over to us!
What’s Left To DIY Finish
After the rough-in stage comes trim. Nathan spent a few weekends installing all the outlets and light switches. Now we’re slowly making our way through installing doors, basements, trim, and all the ceiling lights.
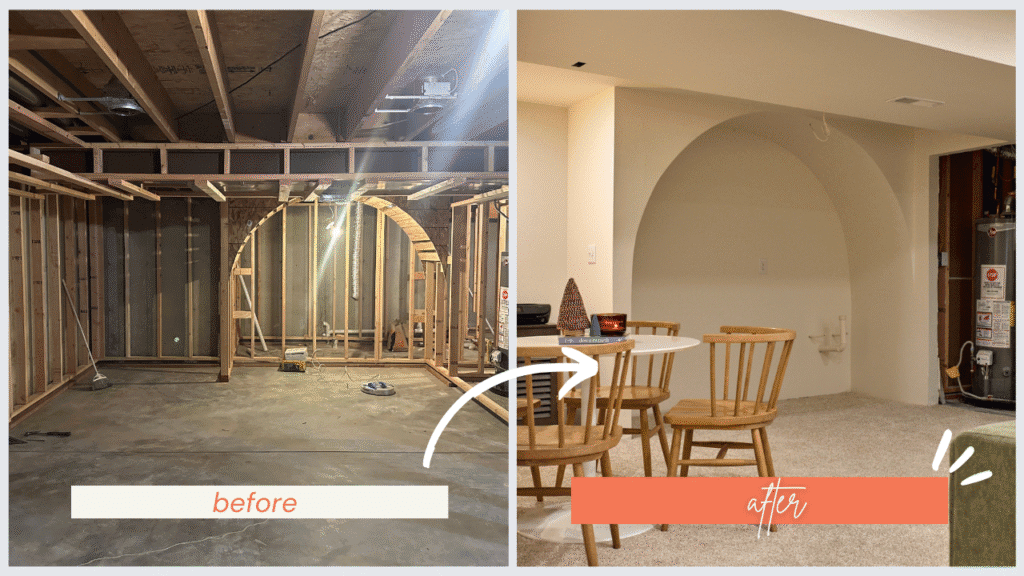
There’s still so much to complete down here. We maxed out our HELOC, so we’re hitting pause on any more spending for this project. We’ll enjoy this space as it is while we slowly finish everything as we can.
Eventually, we’ll…
- Finish the laundry room
- Finish the bathroom
- Finish the arched bar & built-in table
- Add a built-in murphy bed in the guest room
- Add built-in kids’ desks and toy storage
- Add bedroom closet storage
- Replace window wells (they’re rusted)
What We Love/Regret
The Stairs
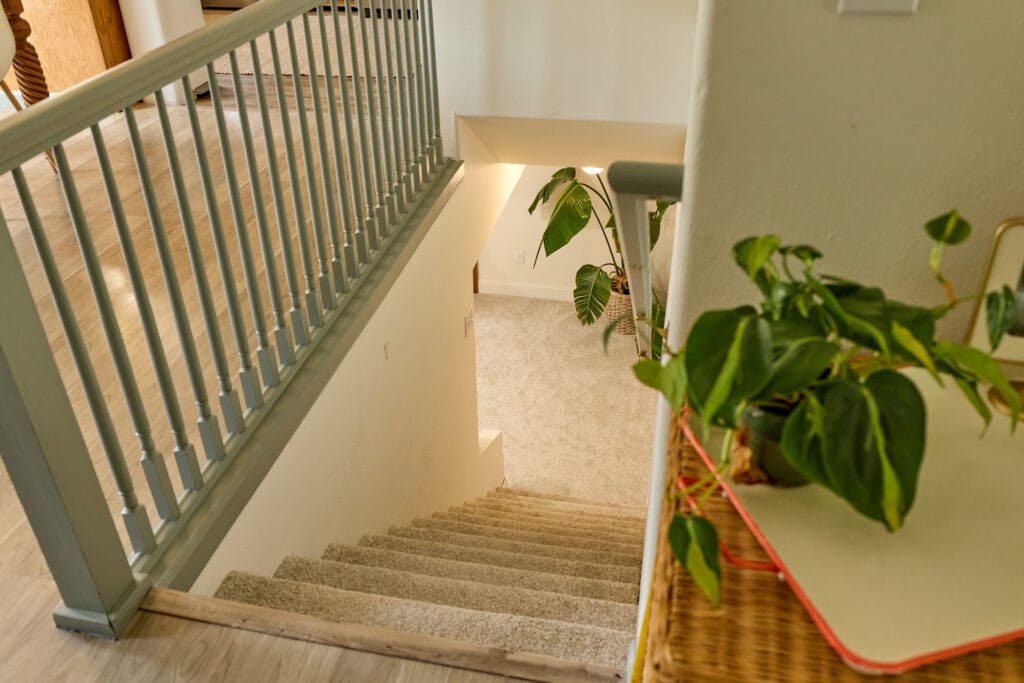
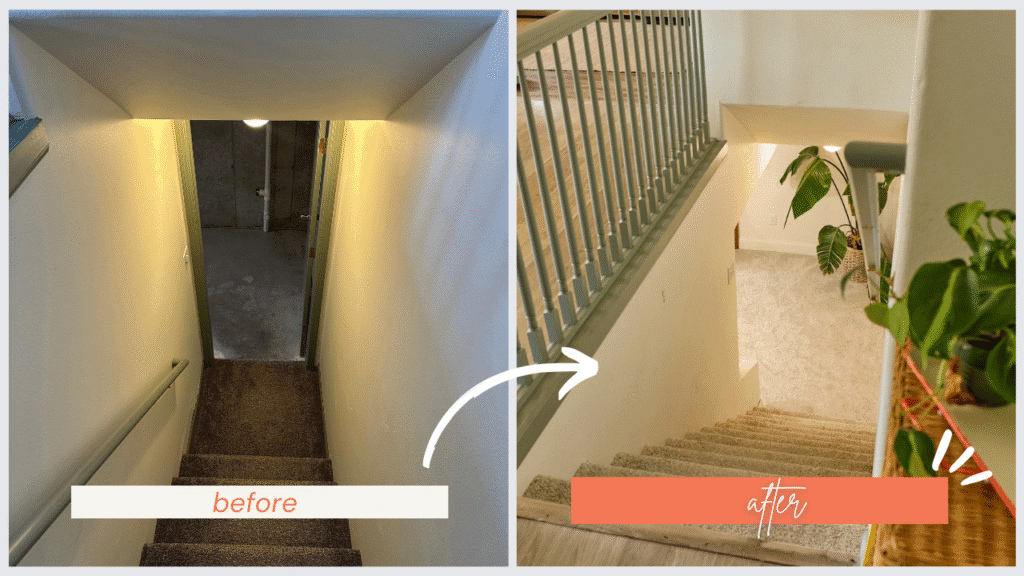
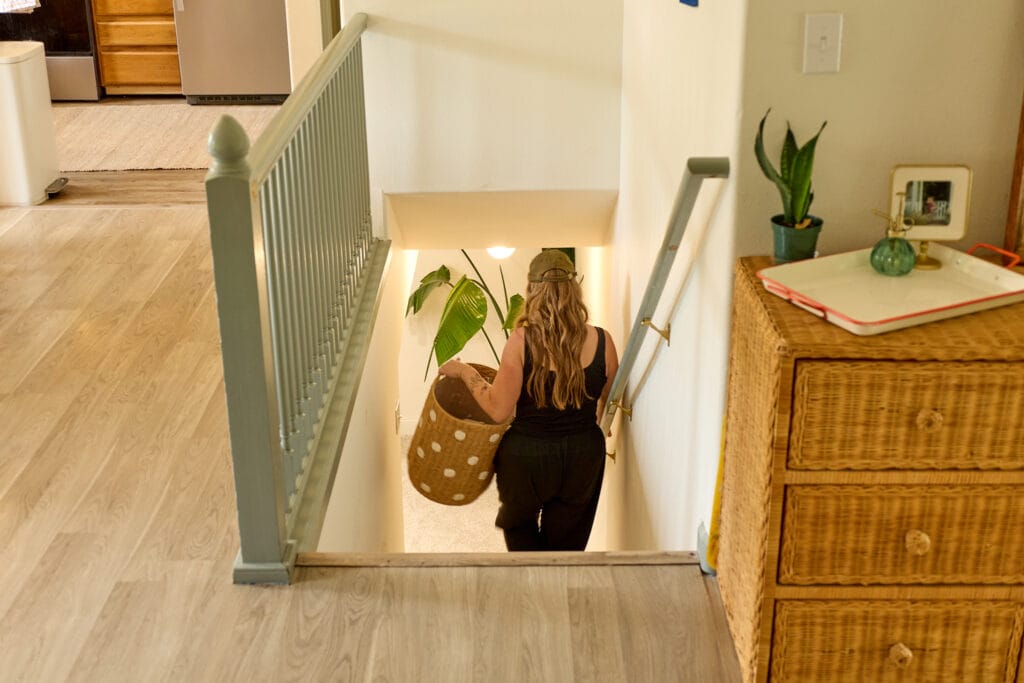
We eventually plan to do hardwood flooring on our stairs, but for now we replaced stairs carpeting to match the basement’s. It’s a huge upgrade. Taking out the door and opening up the bottom of the stairs makes it flow so well to the rest of our home too. So far, the noise hasn’t been a problem.
The Arched Bar & Table Area
I’m particularly in love with the rework we did of this area. The drywall arch adds a cool architectural moment to the space, and the corner table area is a much more efficient use of this space. I can’t wait to build this out.
Privacy For Guests
We’ve had a handful of guests stay with us so far, and the new basement guest room gives us all so much more room. I love that they can have a quiet space to retreat if they need to, and once our basement bathroom is finished they’ll have their own bathroom to use.
Basement Laundry
I was worried we’d deeply regret moving our laundry room to the basement. But so far it’s been totally fine. It’s forced us to keep up with our laundry a little more, but that’s been a good change. We’ve repurposed the old laundry room in our kitchen into extra pantry space and that’s been SO NICE.
LINKS: KIDS HAMPER
So far, we we have no regrets!
1,100sqft Basement Renovation Cost & Financing
The all-in cost so far for our basement renovation, including the cost of the building permit, labor + building materials, gas line extension, plumbing fix, new carpeting, finishes like doors, outlets, trim, etc. is at about $42,000,. We funded this project through a HELOC.
The biggest upcoming costs will be to finish the arched bar, bathroom, and laundry room.
We’re currently paying about $200 a month on our HELOC, and plan to pay it off in chunks as we’re able to. We have 10 years to draw on this line of credit.
I initially wanted to save so we could pay for this basement renovation in cash. But honestly that would have taken us years and years to do.
This way we’re able to increase the value of our home now, reap the benefits as a family, and ideally help us do well in a mortgage refinance if/when rates ever go back down (fingers crossed).
How This Space Has Changed Our Home & Family
Having a finished basement has changed the dynamic of our home life for the better.
It’s easier than ever to host people. If one of us has friends over, the rest of the family can go to another part of the house. We’re not cramped together anymore.
We can retreat downstairs and it feels like we’re unplugging from the rest of the world. We’re watching movies, puzzling, playing games together. It’s also giving us more screen-free time upstairs since we removed the TV in our upstairs living room.
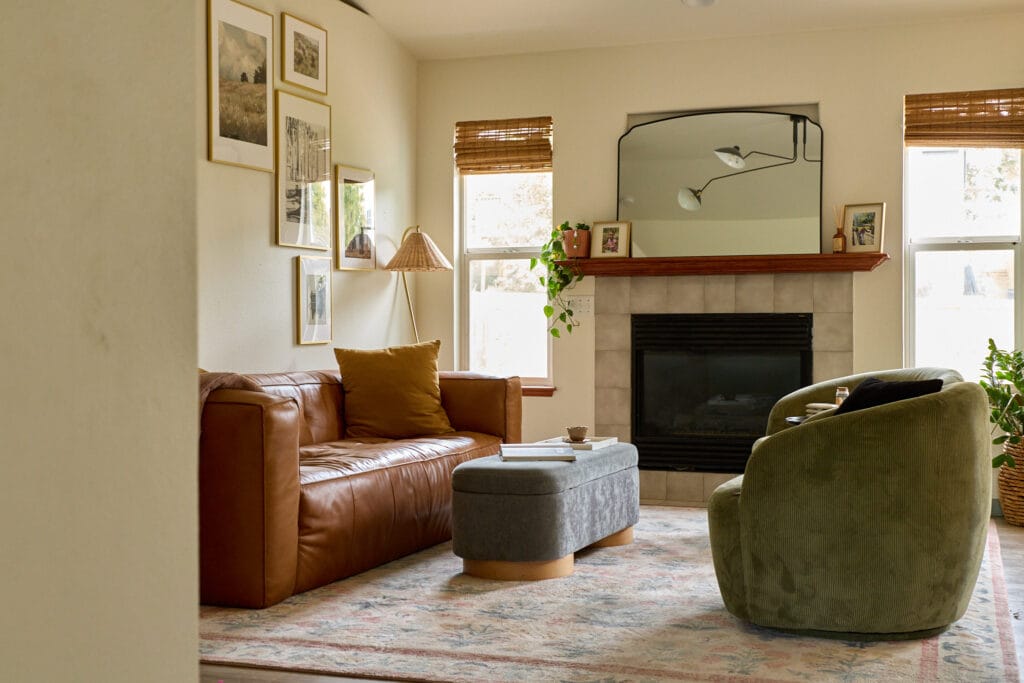
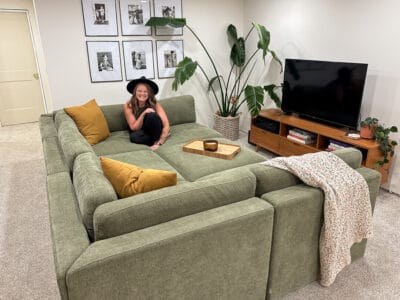
LINKS: POLY & BARK CAPA LEATHER COUCH, MUSTARD PILLOWS, STORAGE OTTOMAN, MARBLE TRAY, GREEN SWIVEL CHAIRS, CEILING LIGHT, RUG, GOOSENECK LAMP, PICTURE FRAMES
Nathan and I now have separate work spaces, and I have a dedicated office that’s not in our bedroom – I feel like I can truly unplug from work now.
Our kids both have desks in the basement, and they’re shared room has been less chaotic now. Plus when they get loud and crazy we can tell them “go do that in the basement!”.
I’m so looking forward to finishing each of the remaining spaces in the future, and can’t wait to share more as we go along!
SAVE THIS POST