A well-designed shower involves a lot of important decisions. When it comes time to design a shower during your bathroom renovation, most people think they’re just picking tile. But designing a shower, especially something like a walk-in shower, requires a lot of choices upfront, and it’s easy to get overwhelmed and anxious by all the options.
Mistakes in your shower design are some of the hardest and most expensive to undo. Taking the time to plan ahead not just your finishes like tile, grout, and trim, but also the functionality of your shower like size and storage will save you from lots of expensive regret down the road!
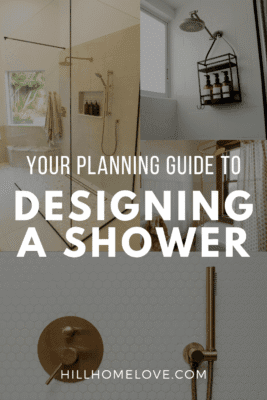
In today’s post, we’re covering all the elements you need to know to design a beautiful custom shower, common design mistakes I see clients make, and my expert design tips (and my cheatsheets) to help you build your shower start to finish!
Planning For A Custom Shower
Some of your design decisions need to come before you start building. While it’s tempting to begin with shower tile because it’s visual and exciting (eek!!), you need to start with what’s behind the walls and under the floor.
In order to set your plumbing, you need to know the size of your shower, what shower pan you’re using (acrylic pre-made pan, tile-ready, mortar bed, etc.), and the type of drain (location, size, placement, etc.).
In order to frame the shower walls, you need to know if you’re adding recessed niches, shelves, built-in benches, etc. and choose a shower enclosure (frameless, framed, semi-framed, single panel, half-walls, full-walls, etc.).
You also need to know the size of your bathroom vanity, which will dictate where your sink plumbing will go, along with the size of your mirror and height of any vanity light(s) in order to place electrical.
These are just a few of the design decisions you need to set in stone BEFORE you begin your bathroom renovation. I highly recommend pulling in a pro in the early stages of your bathroom renovation, whether it be a licensed plumber or contractor. You need a good understanding of what is to code, what is possible, and what costs are involved to set your plumbing and framing.
If you’re starting from scratch in new home build, you may have more flexibility to adjust your shower location and size, as it may be easier to move plumbing around to create the custom look you want.
If you’re renovating an existing bathroom, you may be more limited with breaking up concrete or working between floor joists to move plumbing around. The more you move existing pipes, the more expensive it will be. This affects your overall budget and layout, so coordinate with a plumber or contractor here to get an idea of what’s possible and best for your project.
Without a solid design plan for your shower before you start your bathroom renovation, you’ll miss key elements that will elevate your shower’s design, improving its aesthetics and functionality. You’ll end up making quick, in-the-moment decisions you’ll regret.
Know all the design decisions you’ll need to make before you start building your custom shower, so you’re not making them last minute in a panic.
Elements of a Custom Shower To Know
Friend to friend, I’ve mapped out the important shower design elements to know about and include in your shower build and bathroom renovation. Here you go!
Shower Placement & Size
Your shower placement, size, and shape will all depend on the plumbing options available, the size of the room, and what other elements will be in your bathroom. There are standard size shower pans available, or you can go fully custom depending on your vision and your unique space. Opting for standard sizes usually saves you cost because you can use more pre-fabricated elements like shower pans, doors, or enclosures. But custom sizes and elements can definitely take your shower design to the next level, add tons of character, and create one-of-a-kind looks. Work with a plumber, contractor, and/or designer to determine the best layout for your bathroom and shower.
Shower Pans
There are two options for shower pans: a pre-fabricated shower pan or a custom tile-ready shower pan.
Pre-fabbed shower pans are usually acrylic or fiberglass and come in white, almond, gray, or black. These are easy and quick to install, are pre-sloped for proper water drainage, and are scratch and stain resistant making them easy to maintain.
Common shower pan sizes are 32×32″, 36×36″, 42×42″, 36×48″, 36×60″, 30×60, and 32×60. I wouldn’t recommend anything smaller than 30”, which is already pretty tight for a functional shower.
For context, think about how much room you need to wash your hair, shave your legs, etc. It might be more than you think! Measure your existed shower or tub and determine what size would be ideal for your custom shower design.
Tile-ready shower pans come in a variety of materials, shapes, and sizes. Popular brands like Tile Redi or Schluter offer full waterproofing systems including tile-ready shower pans and wall boards. These require specific installation and proper waterproofing and sealing before tiling can begin. Some tile-ready shower pans can be cut to size, giving you the opportunity for more customization. Some also include bench seating. A plumber or contractor might also do a mortar-bed shower pan.
Which is better: a Tiled Shower Floor or a Pre-Fabricated Acrylic Shower Pan?
Ah, the great debate!
A tiled shower floor is by and far the prettiest, most aesthetic option for your custom shower design. This lets you coordinate with your bathroom flooring and other bathroom finishes, and gives you a unique, one-of-a-kind look. As an interior designer, this option wins every. single. time. Hands down, next.
However… I can admit as a homeowner that a tiled shower pan can be a pain in the ass. The grout lines! The scrubbing! The upkeep! Gah. A tiled shower floor requires regular maintenance and cleaning. Even with grout sealant, expect to be deep cleaning that shower floor grout every 3 months. And if you picked a light grout color, may God bless you and keep you.
A pre-fabricated shower pan is way less maintenance. Yes it’s not as a pretty, but it can be a lifesaver in terms of how often it needs cleaned. If you’re someone who’d prefer less cleaning and maintenance in your shower, a pre-fabricated shower pan might the way to go for you.
This is truly a personal preference! I love a tiled shower floor–both the look and feel. Sealing the grout helps mitigate dirt, mold, and mildew. Using darker grout color can help too. Go into it knowing it will require regular maintenance but the payoff is a beautiful-looking shower.
For our most recent basement renovation, we opted for a shower pan in our basement guest bathroom for easier maintenance and it won’t get used that often. But for our primary bathroom it’s a tiled shower floor all the way.
Here are some pins with aesthetically pleasing options for both:
Curbed vs. Curbless Showers
You also have the option for a curbed shower threshold or a curbless. A curbed shower door has a step or a threshold that you step over to get into the shower. This helps keep water in the shower, and not on your floors in the bathroom. A curbless shower provides a seamless transition between your bathroom floor and the shower, usually incorporating the same tile for each so it all looks “one”. A curbless shower requires either raising the bathroom floor, or lowering the shower floor.
Here’s a Pinterest board with examples of curbless walk-in showers
Shower Drain Placement Options
A point drain is a traditional shower drain you’re probably most familiar with, which could be circular or square. A linear drain is long and narrow and is usually flush with the floor, and placed at the edge or back of the shower.
Shower pans can have different drain placements and configurations. This will be mostly decided by your available plumbing options. It’s common for shower pans to have drains that are right-facing, left-facing, center-facing, or off-center. You may be able to move the drain placement – talk to your plumber and see what’s possible! You’ll need to have your shower pan available in order to set the drain plumbing in the correct place.
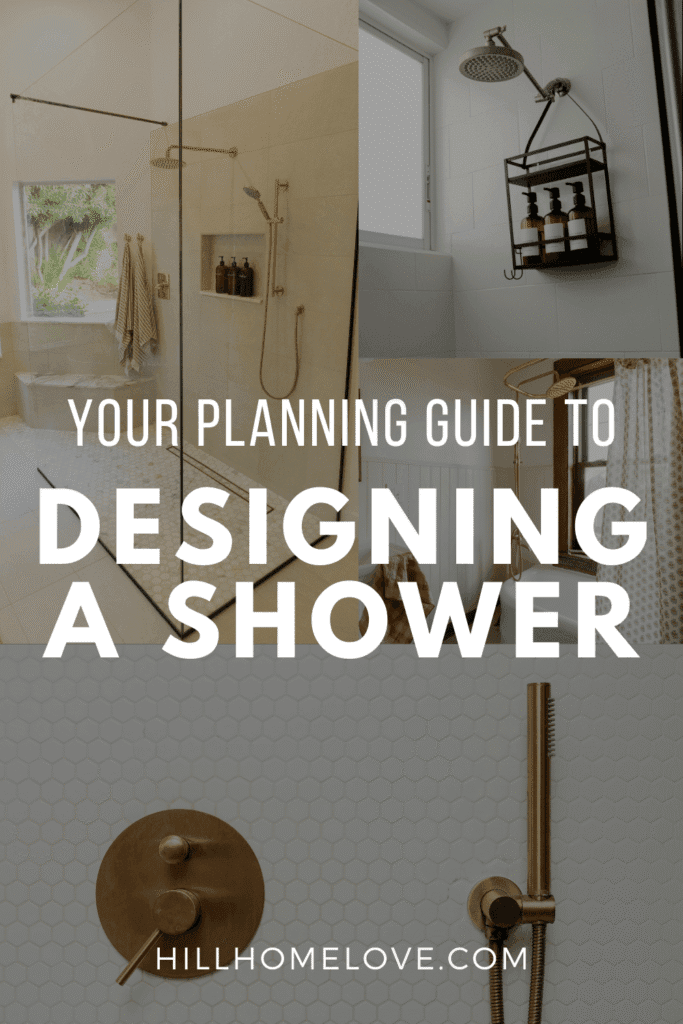
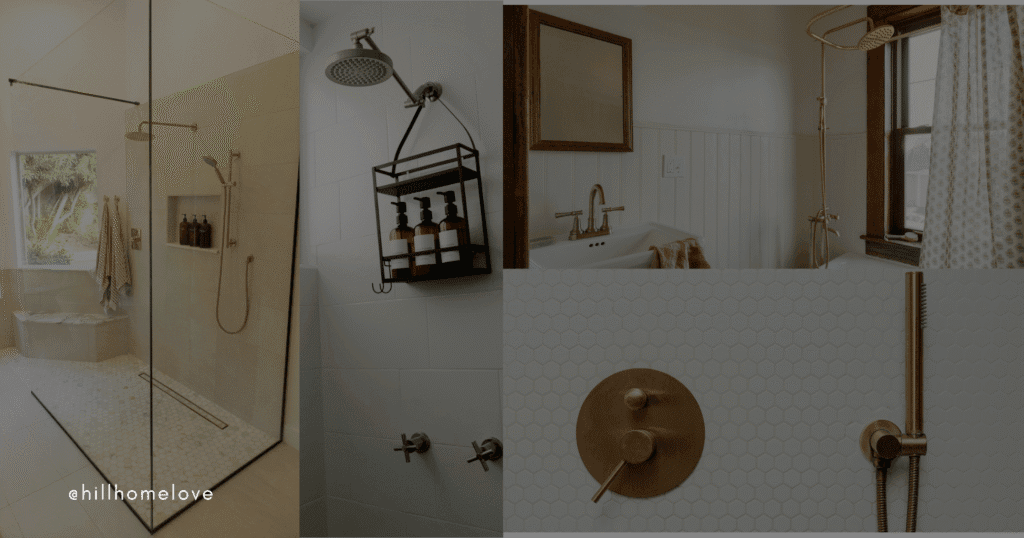
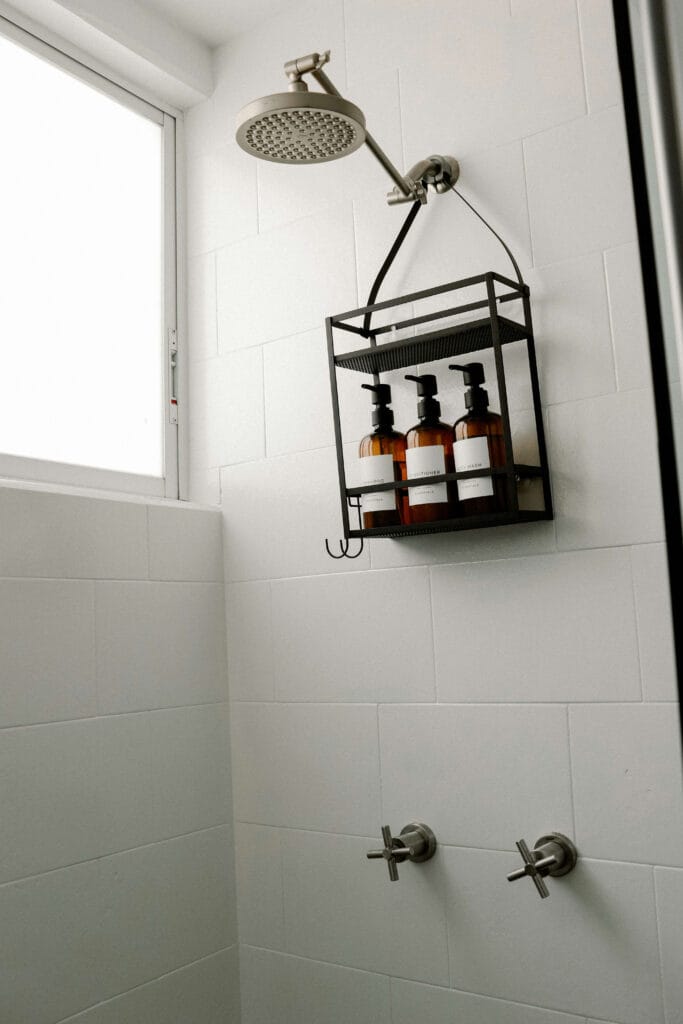
Shower Heads & Valves
Consider how many shower heads, nozzles, or sprays you want in your shower now so that your plumbing can be set to the right locations, heights, and pressures. Your shower faucet should come with a valve that will need to be installed before the shower walls get installed, so you’ll need this on hand to begin. There are many great options out there, but some popular, high quality brands include Delta, Kholer, Moen, and Kingston Brass. (Keep reading for my designer secret to coordinating your shower faucet finish with your other bathroom hardware!)
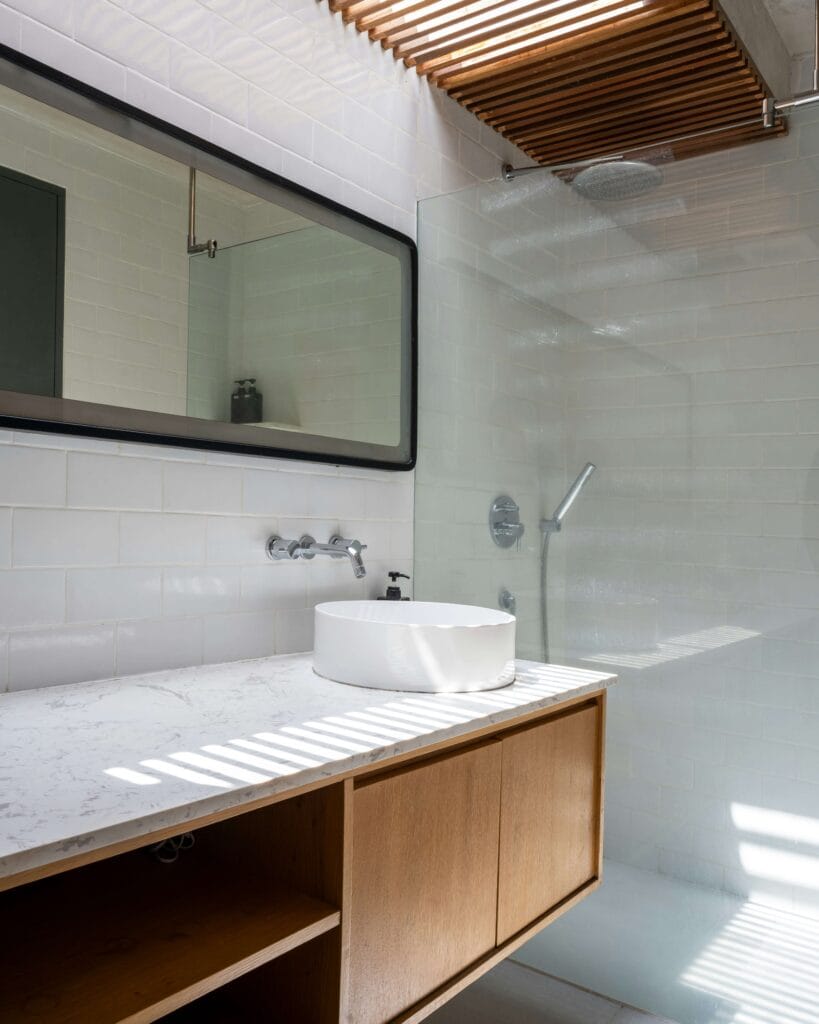
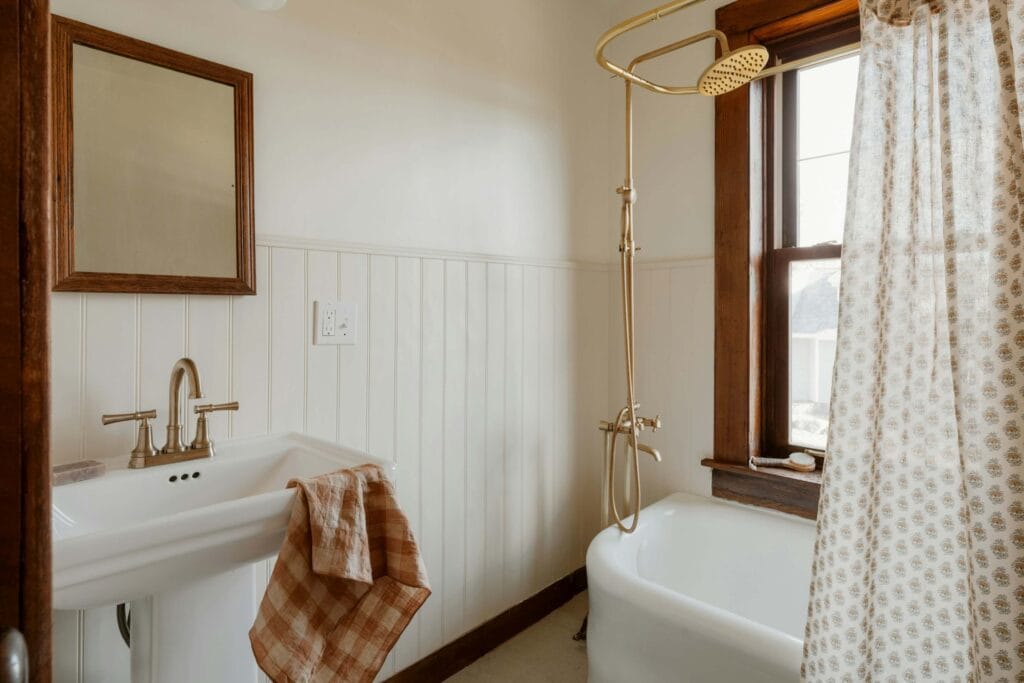
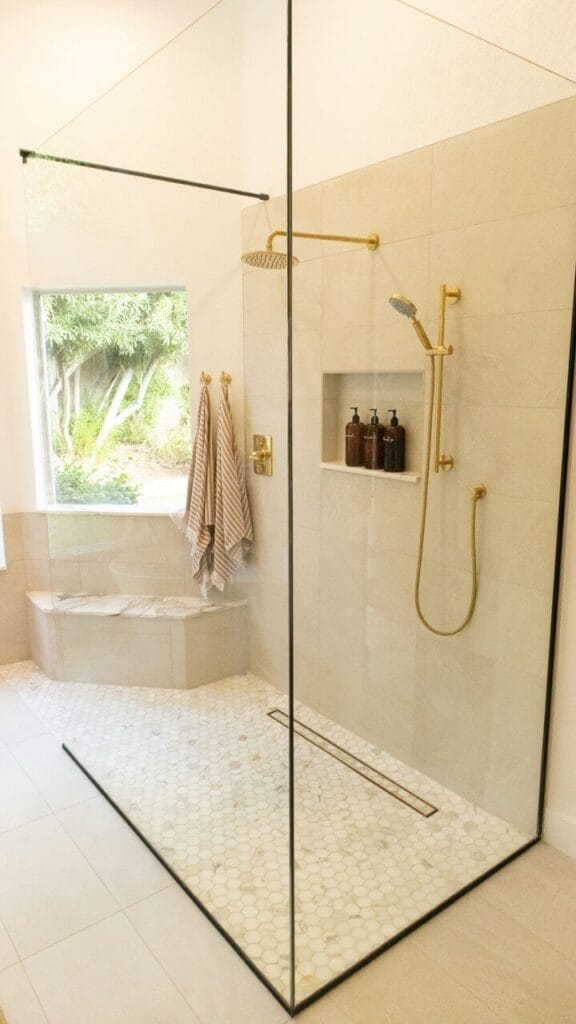
Shower Enclosures, Doors, and Glass
You can choose from fixed panels, sliding bypass doors, or pivot/hinged doors with frameless, semi-frameless, or framed options. The most common option for glass is clear, or you could use frosted or patterned glass. Consider how much glass or tile you’d like around your shower. For more storage around the shower, using a half wall or full wall with tile gives you opportunity for shelves or niche storage. A full glass enclosure will give you a really open look, but also requires you to clean the glass often. Pony walls (tile on the bottom, shower glass on the top), gives you a bit of both.
If opting for a more enclosed shower, make sure you have proper ventilation for steam to escape.
Get shower design inspiration from Pinterest and consider what kind of enclosure you’d like best. Once you have a general idea, you can start selecting more specific finishes for your bathroom renovation.
Shower Storage
Make sure you plan for storage for shampoo, soap, and other items you frequently use.
Built-in niches are a beautiful way to add easy, out-of-the-way storage in your walk-in shower design. Niches are recessed into the wall so they don’t stick out into the shower.
You can buy pre-fabricated niches that easily insert into the wall, or frame it out yourself. Niches can match the rest of your shower tile, or have accent tile. They can also be pre-made from metal for easier cleaning (no grout lines!). You can also add floating shelves after tiling and grouting.
Pro tip: I once saw a niche near the bottom of the shower that acted as a foot rest for shaving your legs, and I’ll never forget it.
SHOWER STORAGE
One of my favorite design-forward options for storage is adding a bump-out on the lower half of one shower wall, creating a tiled shelf like this.
Once your foundational elements above are determined and your plumbing plan is in place, you can start framing out your shower and selecting finishes.
Choosing Your Custom Shower Finishes
Shower Wall, Floor, and Accent Tiles
Selecting tiles is my favorite part of any bathroom design. The colors! The textures! The shapes! There’s so much to love. Get inspired on Pinterest, Instagram, or your favorite blog for ideas for tile. You can get creative with patterns, colors, mixing tiles, shower tile trim, and tile borders.
For most bathroom projects, you’ll be selecting 2-4 coordinating tiles for the whole room. Shower walls, shower floor, niche, bathroom floor tile, backsplashes are all common places for tile.
The tiles you choose need to coordinate in shape, color, and texture. Try to stick with similar aesthetics between them all. It’s easy to get lost in the weeds of tile, but it doesn’t need to be complicated.
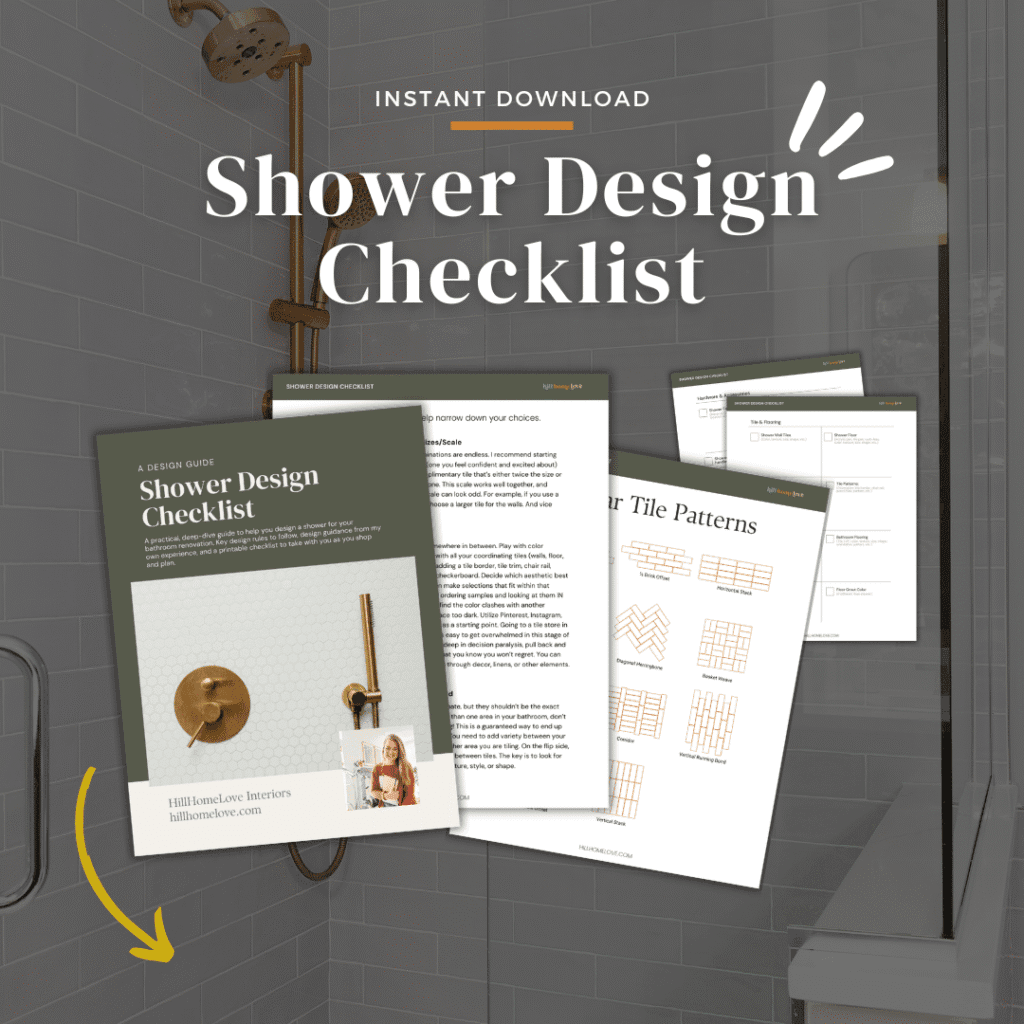
I share a few tips on this post on how to pick coordinating bathroom tiles, but if you want my full design advice, grab my Shower Design Checklist! It’s the actual cheatsheet and guide I share with my design clients to help design your custom shower start-to-finish.
Need more help? Book a virtual consultation with me! I’m here to help you navigate all your choices and create a design you’ll feel excited and confident about.
Shower Tile Trim
Tile trim shouldn’t be an afterthought. Some tiles have a “bullnose” edge which carries the color/finish all the way to the bottom of the tile for a nicely finished transition to the wall. You can also use metal tile trim which comes in a variety of sizes, colors, and finishes. Pencil tile is a thin strip of tile that can be used as a tile border or tile transition as well.
Grout
A high quality grout will save you a lot of headache. Grout, in any bathroom, requires regular cleaning and maintenance. The brighter the grout color, the more visible mildew will be. Sealing grout can help it last longer in between cleanings.
Selecting grout colors can be a tough process, but it helps to test samples with the tiles you’re planning to use.
Grout color can make or break your walk-in shower design! It’s a big deal, so choose carefully.
Depending on your custom shower design, you may want the grout to blend in with the tile or provide enough contrast to help your tiles stand out. Grout color can push/pull certain colors out of your tile and have major influence over the overall look.
Lowe’s carries small pre-mixed Mapei grout in popular colors, which is an affordable way to test grout colors. Apply it to a sheet of tile you’re considering, let it dry, and see if the colors look okay together.
You can also find grout stick sample kits like this in tile stores. They’re pretty cheap, and (in my opinion) worth ordering if you’ll be doing future projects with tile.
DO NOT just pick a random color online and hope for the best. Always, always, always test your grout color with a small selection of your tile before committing to doing it all! You may be surprised how they look together.
One of my favorite grout colors is Warm Gray by Mapei.
Shower Hardware
This includes the shower faucet, shower door handle, shower door hinges, tile trim, sink faucet, vanity hardware, towel hooks, TP holder, lighting, and any other metal fixtures in your bathroom. I recommend no more than 2-3 different finishes throughout your bathroom.
A coordinated balance here is essential. For a deep-dive into how to select finishes (and what absolutely NEEDS to match), download my Shower Design Checklist.
Common Mistakes With Custom Showers
A shower design is hard to change later. Here are a few common mistakes to avoid in your walk-in shower design.
Awkward Sizing
Too small of a shower will leave you squeezed for room. Make sure you give yourself enough space to do common tasks like wash your hair, shave your legs, and wash those toes. I recommend going no smaller than 32”, and at the VERY least, 30”, for your shower width. If you find yourself creating a fake shower out of cardboard and painters tape here just to check out how the sizing feels, I applaud you for your planning.
Lack of Storage
The whole point of a shower is to get clean, right? So you need a place to set your soaps of all kinds. Make sure you plan ahead with a niche, shower shelf, or ledge for storage. You’ll regret having to place everything on the shower floor.
Slope/Draining Issues
Improper slope of your shower pan will lead to drainage issues, which will lead to pooling, leaking, and mold. Which will lead to redoing your whole shower floor, which means your shower walls too. This is the stuff of nightmares! Pre-fabbed shower pans are pre-sloped to make this easy for you. If using a custom shower pan, ensure the slope is up to code and will properly move water out of your shower.
Shower Head Type & Placement
If you’re implementing a rain shower head, make sure you leave enough room to move around under the water spray. Don’t trap yourself in a small shower with a shower faucet directly in the middle over your head, or it will feel like you’re drowning in the water with no escape. Consider an angled spray for small showers. Place the shower high enough that even your tall friends can use comfortably.
Rain showers typically have a more gentle spray, which can be very soothing. If that’s not your thing, opt for a higher pressure shower faucet.
Improper Sealing – Enclosures
Whatever shower enclosure you choose needs to properly seal to prevent water from escaping. No one wants a puddle of water outside their shower to clean up after ever use. Utilize caulk and rubber seals to help mitigate water escaping your shower, but also ensure the overall design itself won’t lead to problems later.
Bringing It All Together: Tips, Guidelines, and Cheatsheets To Creating A Shower Design You Won’t Regret
Shower design mistakes happen when you don’t plan ahead. Whether you didn’t know or had to make a quick design choice in the moment to keep your bathroom renovation moving forward, the potential for things to go wrong is high.
You’re investing thousands of dollars into your home! Protect your investment by planning well. Whether you’re a DIY’er or hiring someone to complete your bathroom renovation, knowing what design decisions are ahead of you are essential.
Through my experience DIY’ing my own bathrooms on a budget and helping clients with their own shower renovations, I created an easy system to help you catch all the design details.
This is a checklist and guide I share with my clients, now available to you!
My Shower Design Checklist will strategically walk you through all the shower design elements you need to make BEFORE you start your bathroom renovation. I’ll guide you on where to start in your design first so that all your other design choices flow easily, helping you avoid decision fatigue and overwhelm.
In this checklist guide, I dive into:
- How to coordinating tile sizes
- Popular tile patterns (an easy cheatsheet)
- Choosing tile styles
- Coordinating hardware finishes throughout the bathroom
- Where to start in your bathroom design
- Trends: to follow or not to follow
- Conquering decision paralysis
This checklist guide is designed to be your companion as you shop and plan, giving you room for notes and research as you source the best options for your custom shower design.
When you’re ready, record your final selections and confidently implement your custom shower design!
Proper planning will lead to higher quality and a better design.
While you’ll find lots of helpful info on my blog here, this checklist is a culmination of learnings from DIY’ing my own bathrooms and helping clients through theirs. You’ll get my expert design advice and a trusted design planning system to help you keep organized and on top of your shower design plans.
Think of this checklist guide like a planning partner in your bathroom renovation.
Avoid the stress and simplify the planning process by grabbing the Shower Design Checklist now!