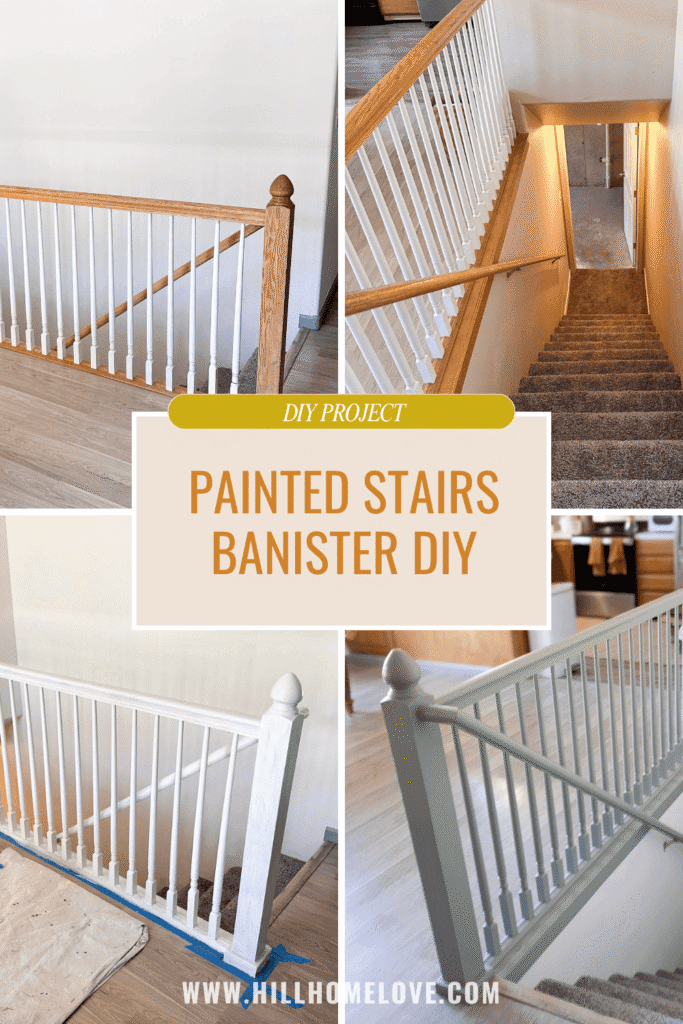
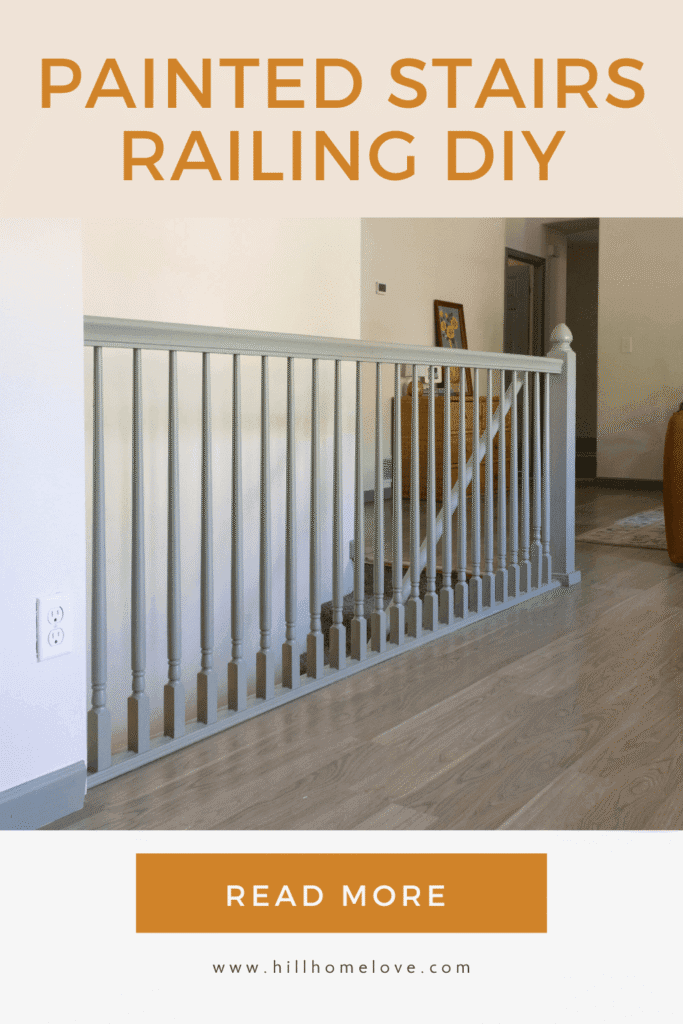
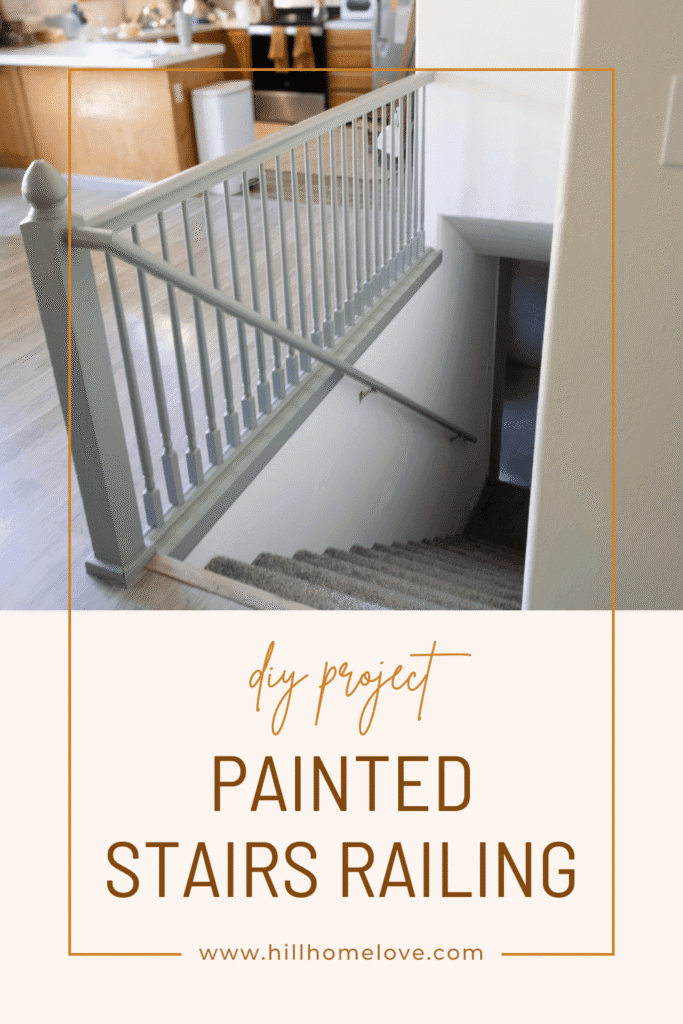
Today’s post is all about our painted stairs railing makeover, the before and after, and a brief overview of how we did it.
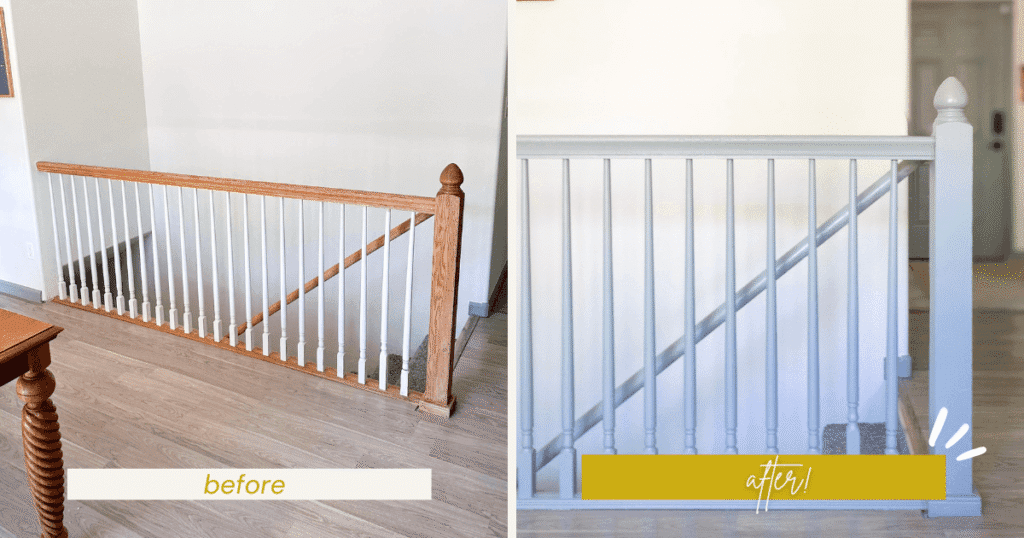
Stepping out of the 90’s: Painting Our Oak Stairs Banister
I’m on a slow mission to update all the trim in our home. I made it around the first floor during our first year here, and last summer I finally made it to our stairs railing. The glorious look of the 90’s was strong, but I was determined to bring it into this decade and make it feel more like us.
Our 90’s stair banister was one of those features in our fixer upper home that I kept walking past and thinking, one day I’ll deal with that. It was functional, sure. But like most parts of our home, it’s a little wonky, mismatched, and needs some help. So I finally got out some sandpaper and paint and gave it a new look.
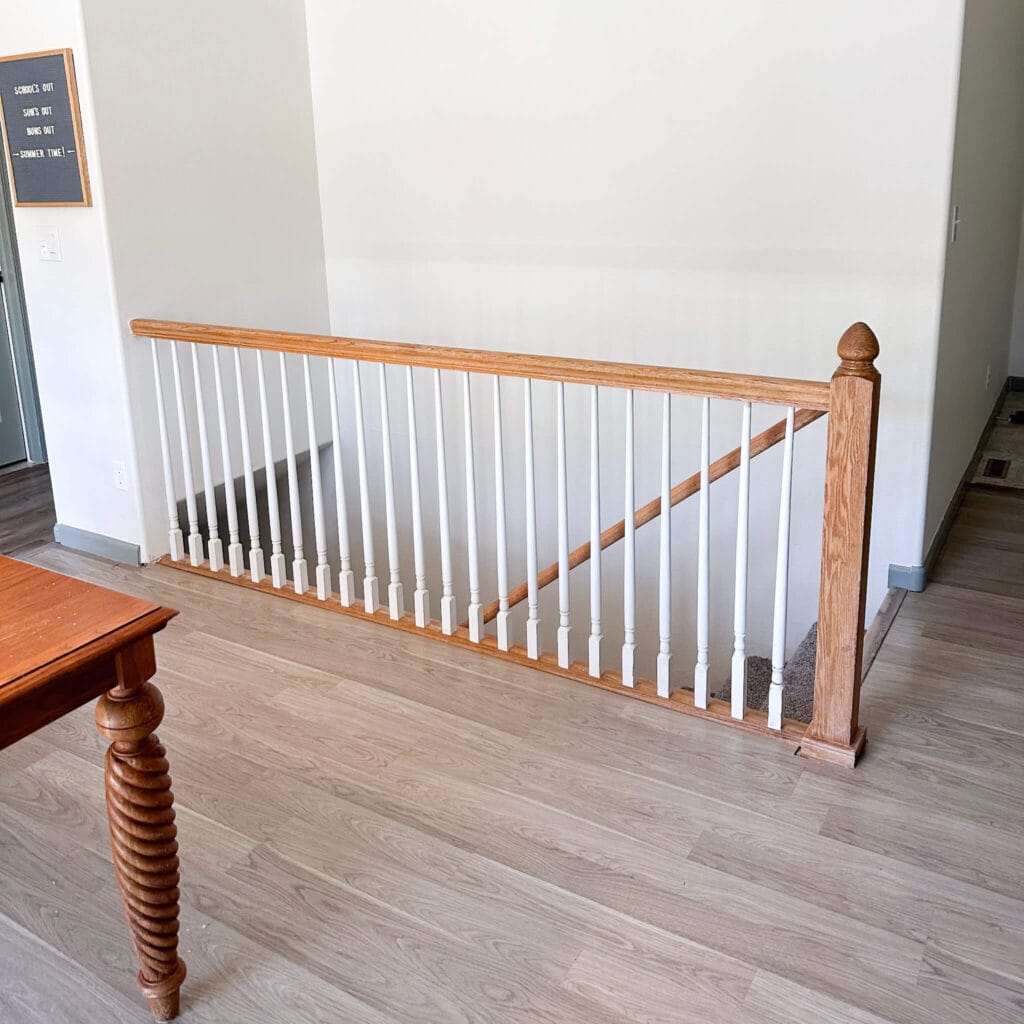
This stair banister is in rough shape. It may look okay from afar, but if you zoom in, it looks like someone (or something) took some bites out of the railing. It’s covered in scratches and grime.
We crack up at this attempted spindle fix from before we bought the house. They were so close! (We laugh so we don’t cry.)
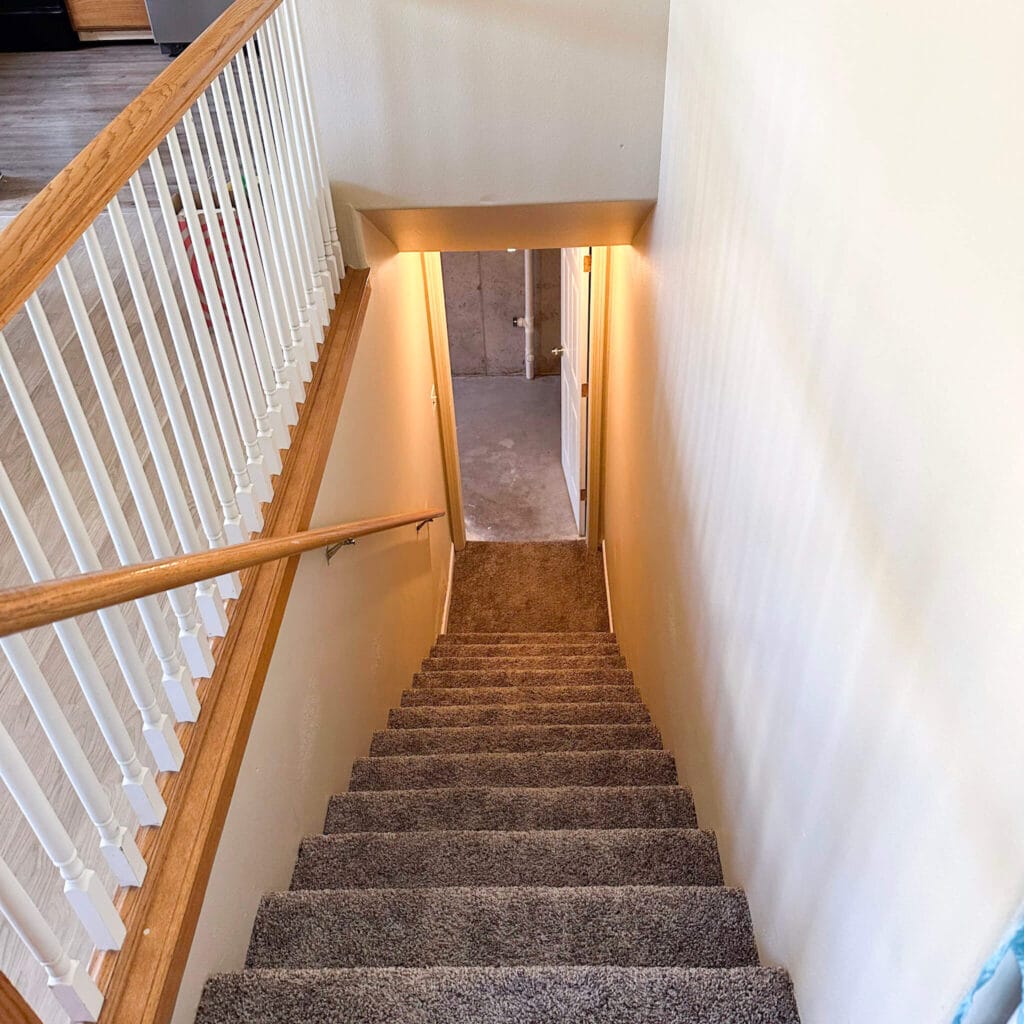
Someday we’d like to replace this railing with something more sturdy and modern, but for now we needed a quick fix to help it blend in with the rest of our changing house.
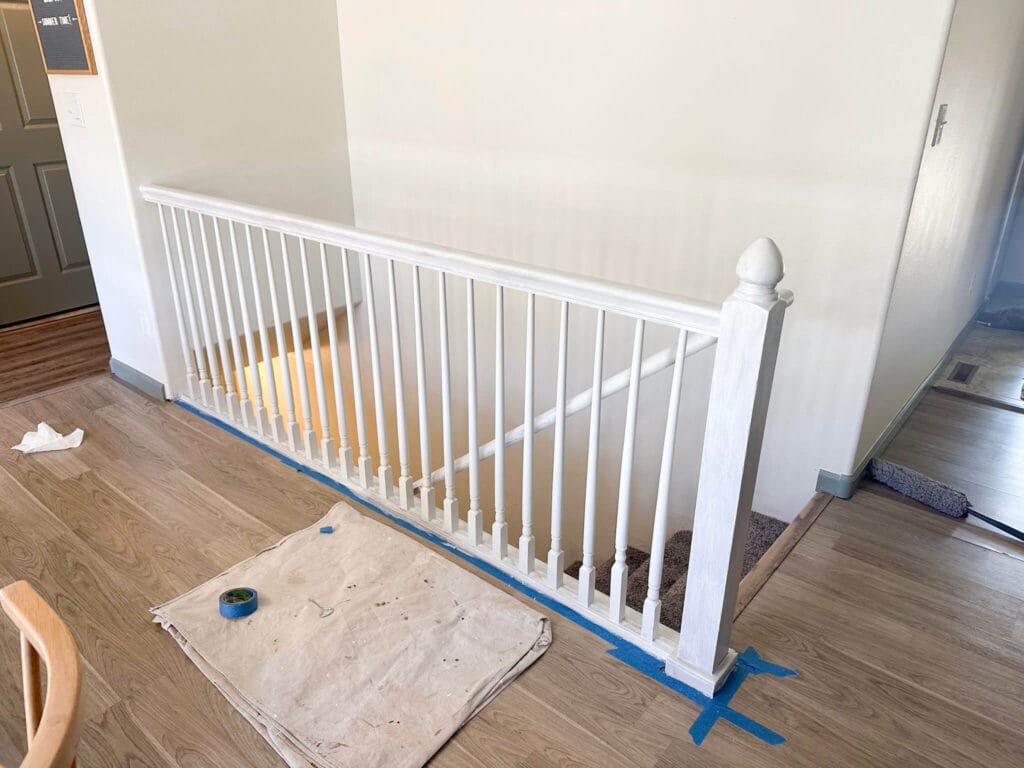
How We Prepped Our Oak Stairs Railing for Paint
Let’s be honest, this is the least fun part. But prep is what makes the difference between a durable painted stairs railing and one that chips after a few weeks.
Here’s what I did first:
- Lightly sanded the entire banister with 220-grit to scuff up the glossy finish.
- Wiped it down with a tack cloth to remove all the dust.
- Used a deglosser in the tricky, hard-to-sand corners.
- Taped off the stairs, spindles, and walls to protect everything nearby.
Then it was ready for primer!
The Painting Process
Once everything was prepped, it was time to bring this banister to life.
I started with Zinsser BIN Water-Based Primer, which works magic when painting wood. Then came two coats of our green paint (using Urethane Alkyd by Behr in Satin) using a combination of a high-density foam roller and a soft angled brush for the detail work.
- Total coats: 1 primer + 2 paint
- Sheen: Satin, for durability without too much shine
- Dry time: About 4 hours between coats
*Primer is absolutely essential to help your paint bond properly to the wood! Without it, expect chips in the paint within weeks.
I’ve used Urethane Alkyd paint for almost all wood painting projects. From painting shiplap, beadboard, doors, trim, and railings, this paint is magic.
If you use it right, you can get minimal brush marks, a solid adherence, and a long-lasting finish.
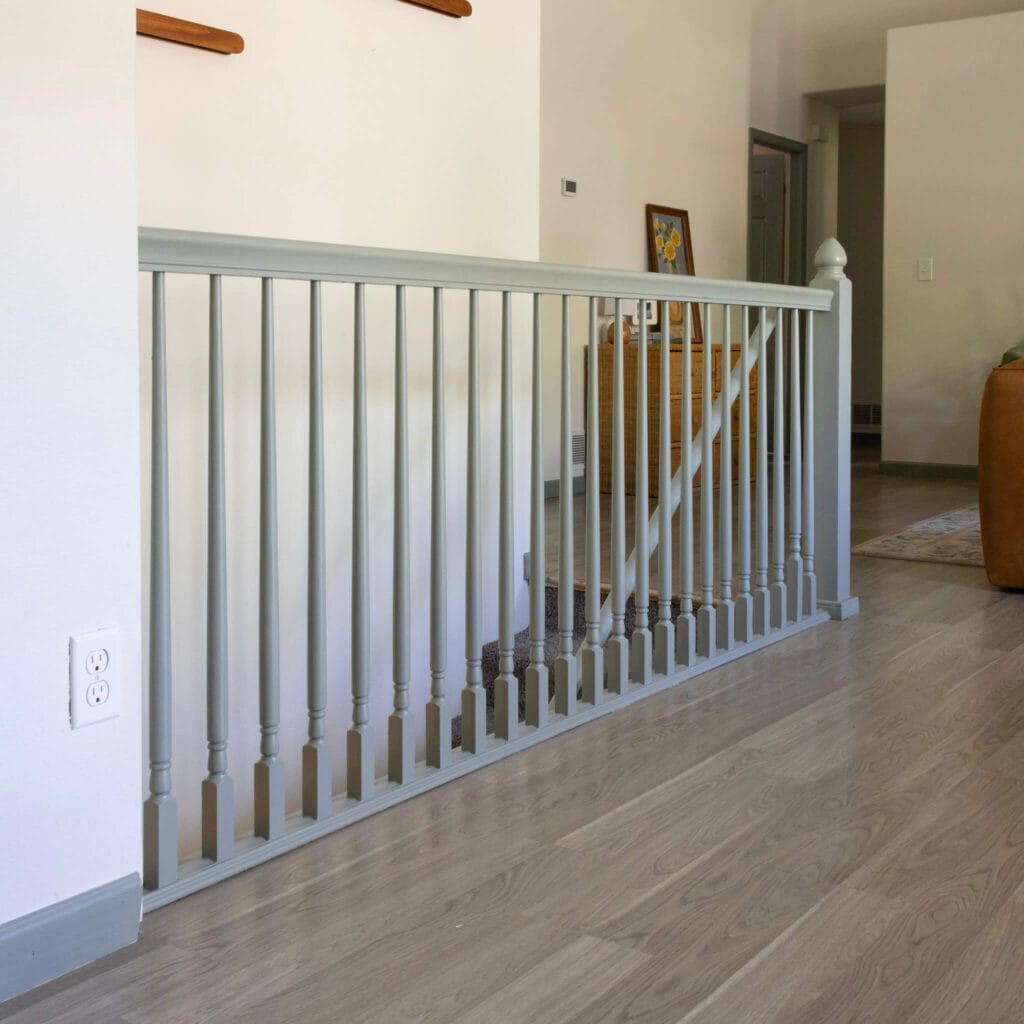
We chose the color Evergreen Fog by Sherwin Williams for all our doors and trim. It’s a beautiful light gray green. I continued with this color on our stairs railing to flow with the rest of our trim, and it turned out great.
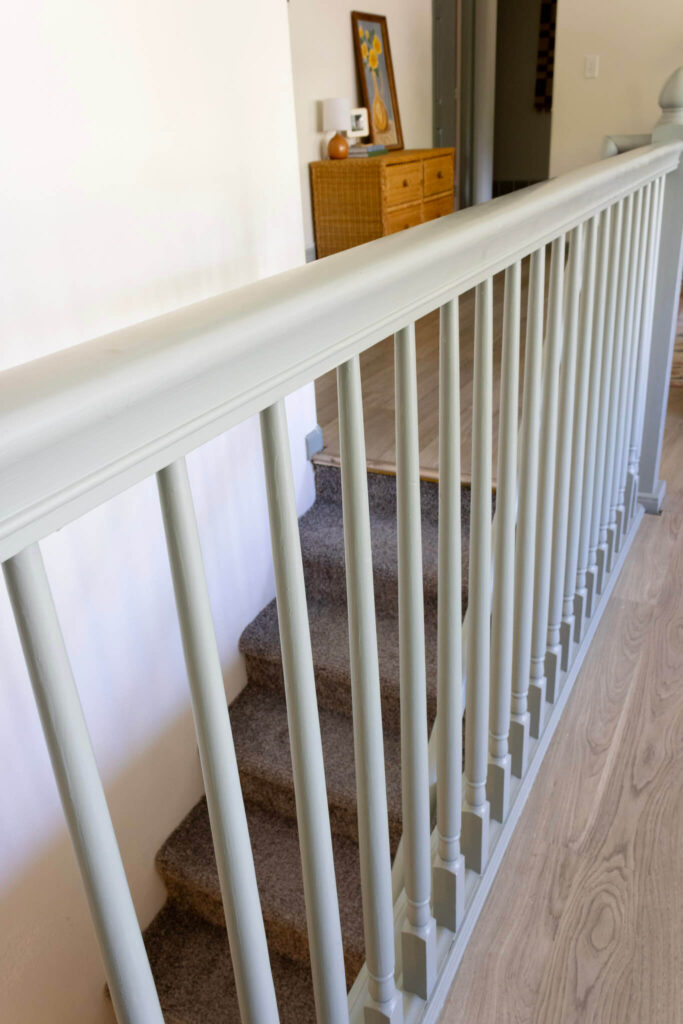
Not too overpowering, and a good contrast with our white walls.
Once the paint dried, it truly felt like a totally different house. The green brought just the right amount of drama and made the entire staircase feel like an intentional design feature, not just something we inherited.
It’s been a year since I painted this stairs banister, and the paint finish has help up great! We’ve noticed a few wear marks around the top of the banister post where we brush up against it almost daily. Other than that, no issues.
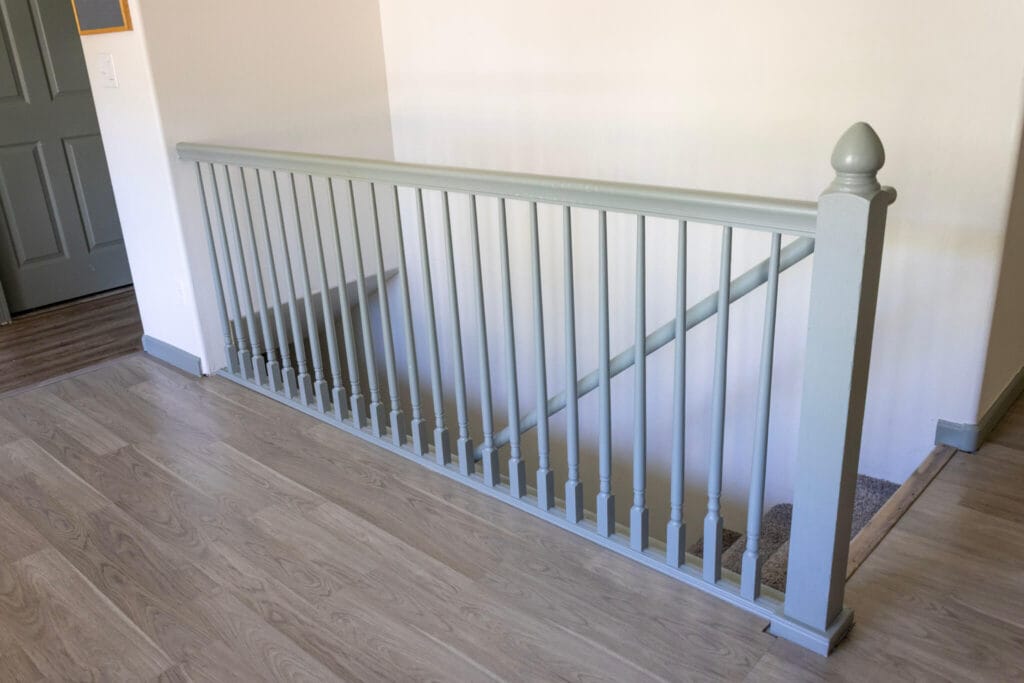
This painted stairs railing was a low-cost, high-impact way to bring our stairs into this decade without a full renovation. It will hold us over until we fully replace it with something more our style, but it doesn’t feel like a temporary fix at all.
Sometimes you don’t need a huge budget or big investment to make your house feel like home.
Small changes in the right direction is progress!
Painted Stairs Railing Cost + Time Breakdown
If you’re curious what this project cost us, here’s a quick breakdown:
- Primer: $20
- Paint: $50
- Supplies (tape, rollers, brushes): $5
- Total: Around $75
- Time: About 5–6 hours spread over a weekend
Common Questions About Painted Stair Railings
Will it hold up over time?
So far, yes! The primer and paint we used made a huge difference. It still looks almost new over year later.
Does it scratch easily?
No major scratches yet, but I’d recommend letting it cure fully for the full 20+ days before testing it out.
Can I skip sanding?
I don’t recommend it. Even a quick hand-sanding gives the primer and paint something to grip onto, which drastically improves the bond between the paint and the wood material.
What sheen is best?
We used satin. It’s durable and easy to wipe down, without looking too shiny.
Would you paint oak wood again?
100% yes. Especially when it looks this good!
Now our space feels more like us and we can focus on bigger projects while we slowly make our way through updating our forever home, one project at a time. This painted stairs railing project was totally worth it.
Save this post!
Read More >>
Complete Guide To Painting Shiplap


2 Responses
Hi Megan, We just had our red oak wood flooring in our foyer, hallway and kitchen refinished to country white.
Now I’m am trying to figure out what color to do my banisters and stairs since they are still red oak color with
White spindles. We want to do it ourselves but not sure if we should stain or paint. Any suggestions would be appreciated. Thank You !
Denise
Oh good question! My gut tells me to try painting it, but it’s hard to say without seeing a picture. Email me a picture and I’ll take a look!! megan@hillhomelove.com (If it’s not too late, so sorry for my late reply here!)